Let me start off by saying, I'm not much of a welder. This is basically my first time welding sheet metal. I read an article in Hot Rod magazine, watched a youtube video, bought a MIG and went to town! Please don't laugh at my welding skills! With that said, here's my detailed write-up.................
Both quarters were toast! The bottom halves were non-existent and the 'good' metal was paper thin. After pricing out repros ($500 a pair!) I decided to make my own, on the cheap!

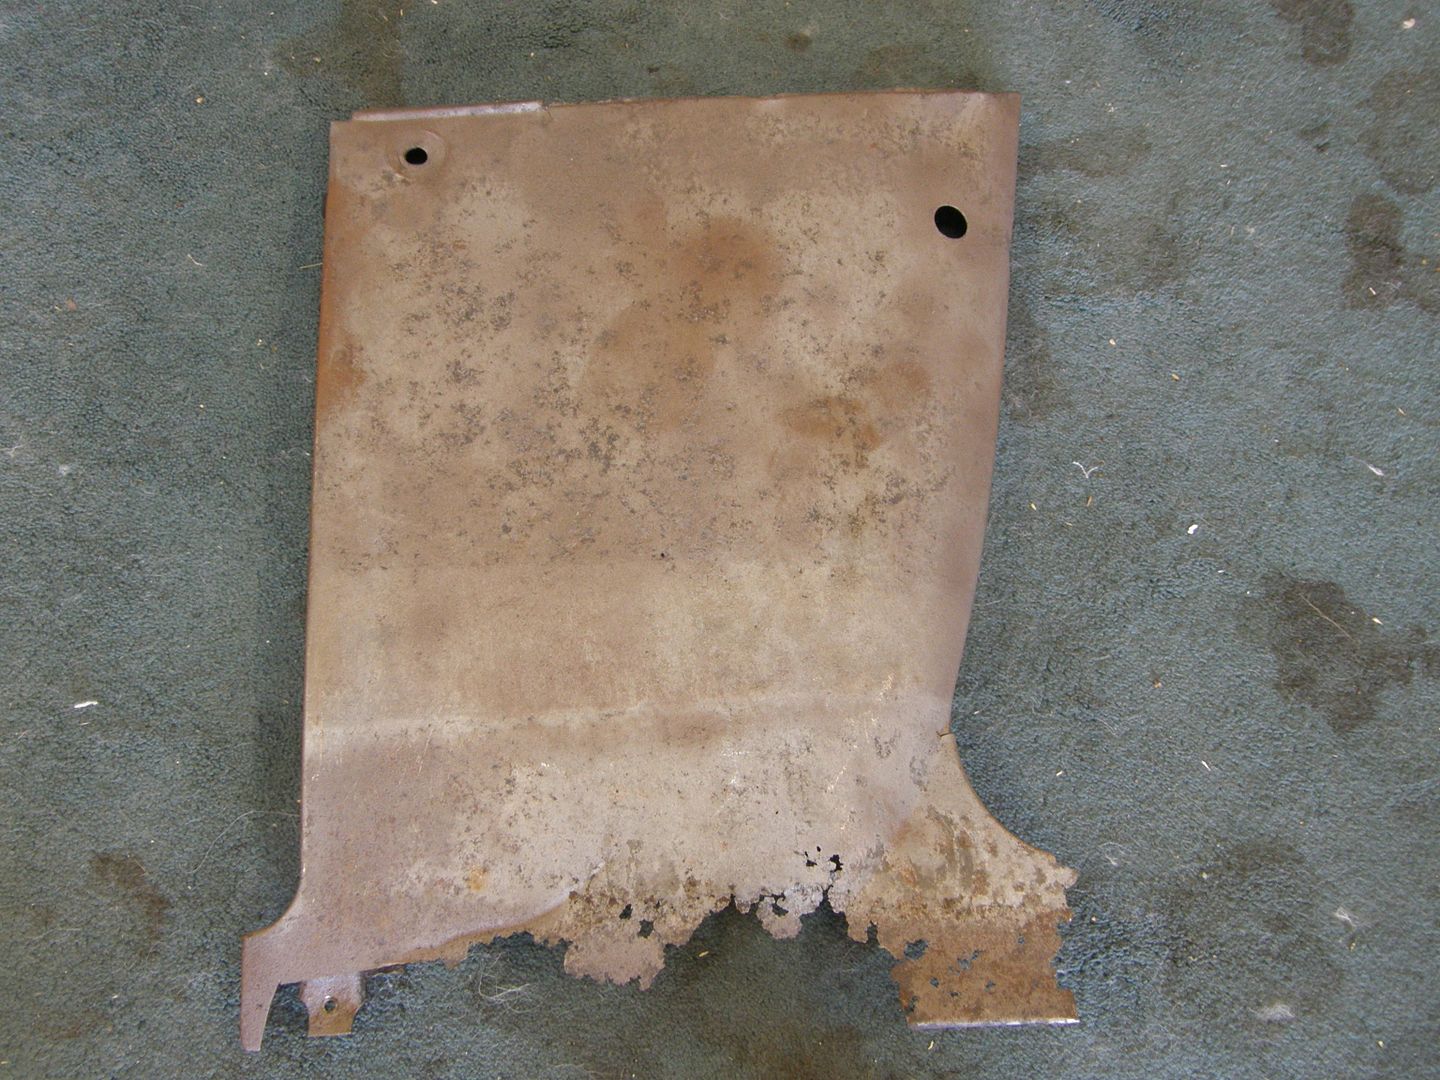
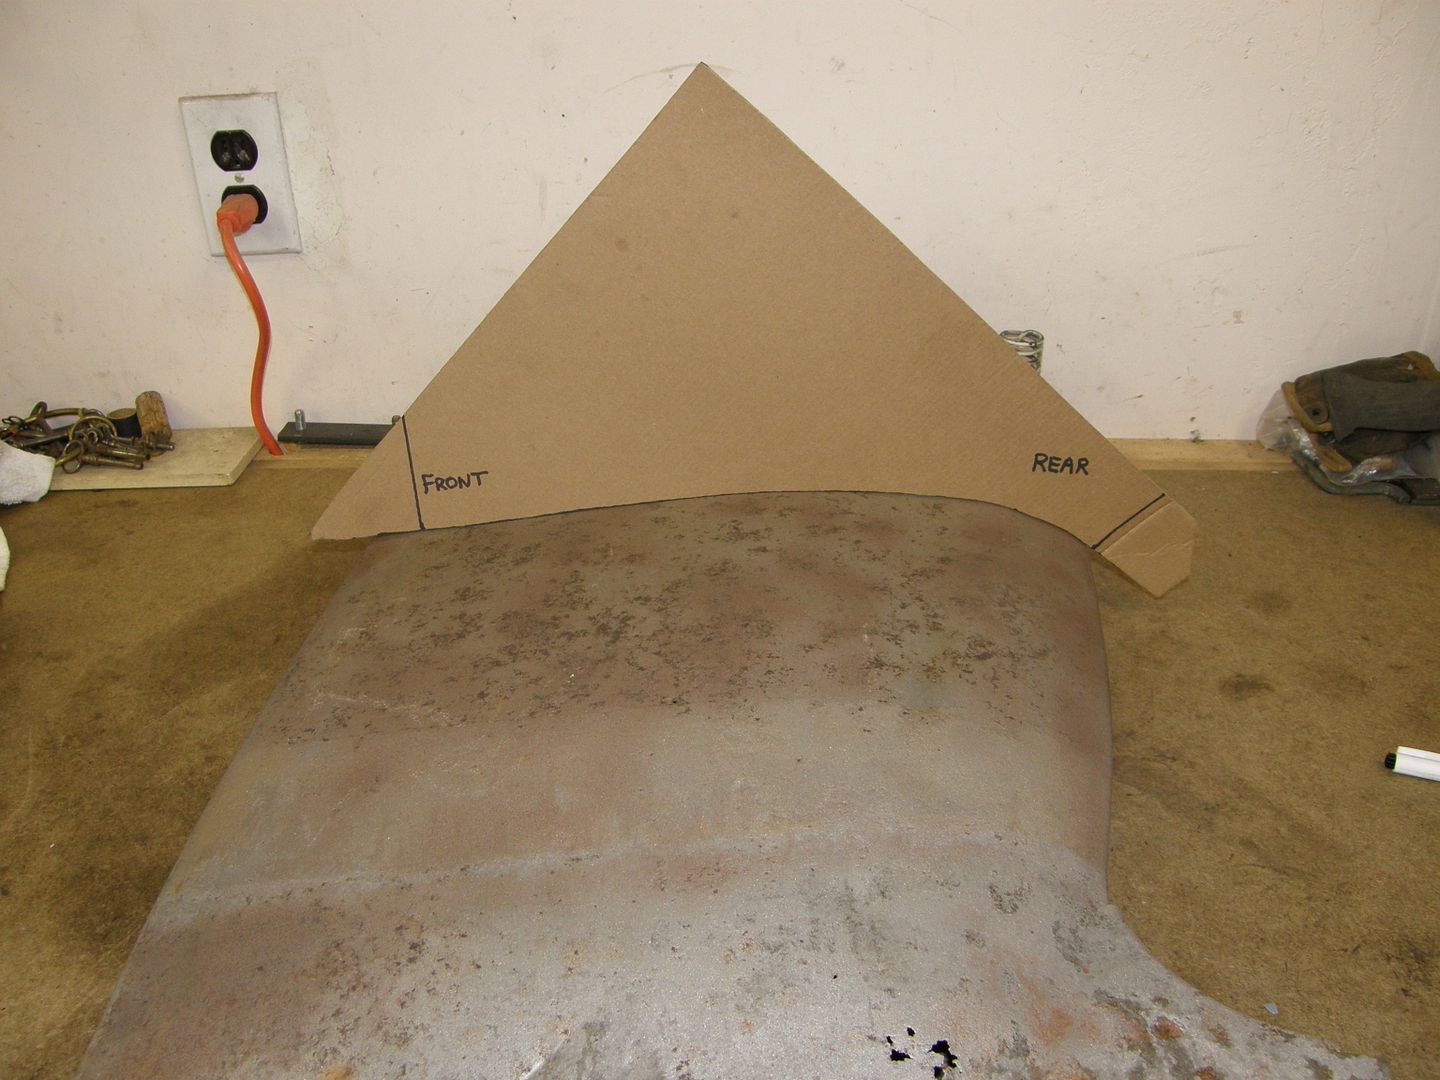
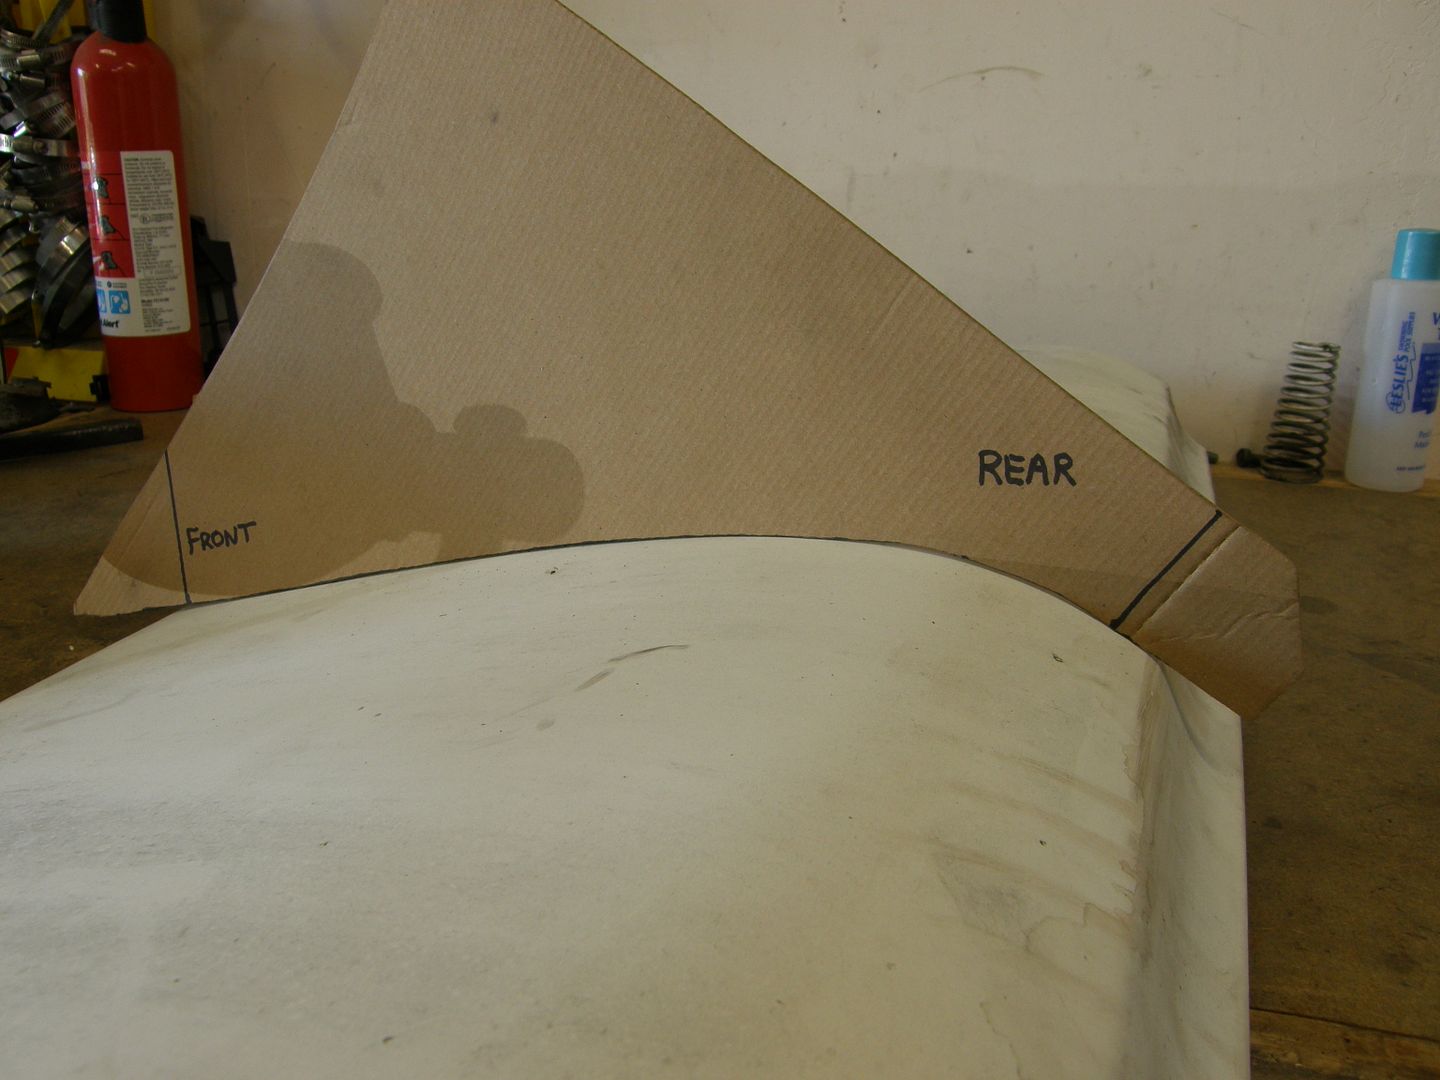
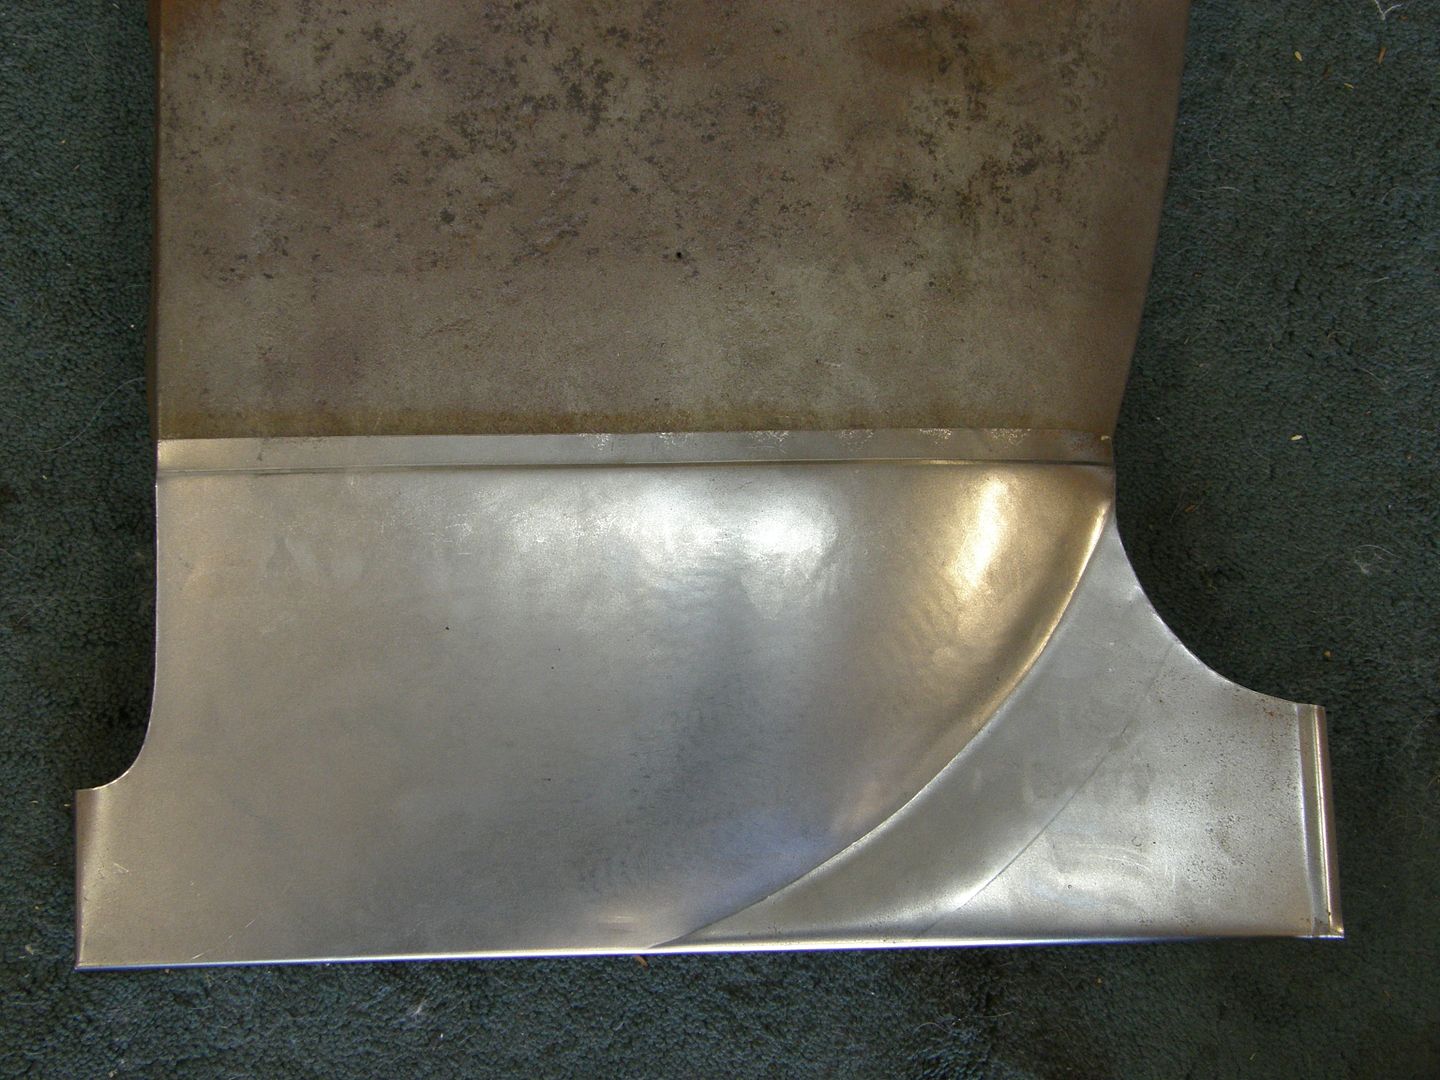
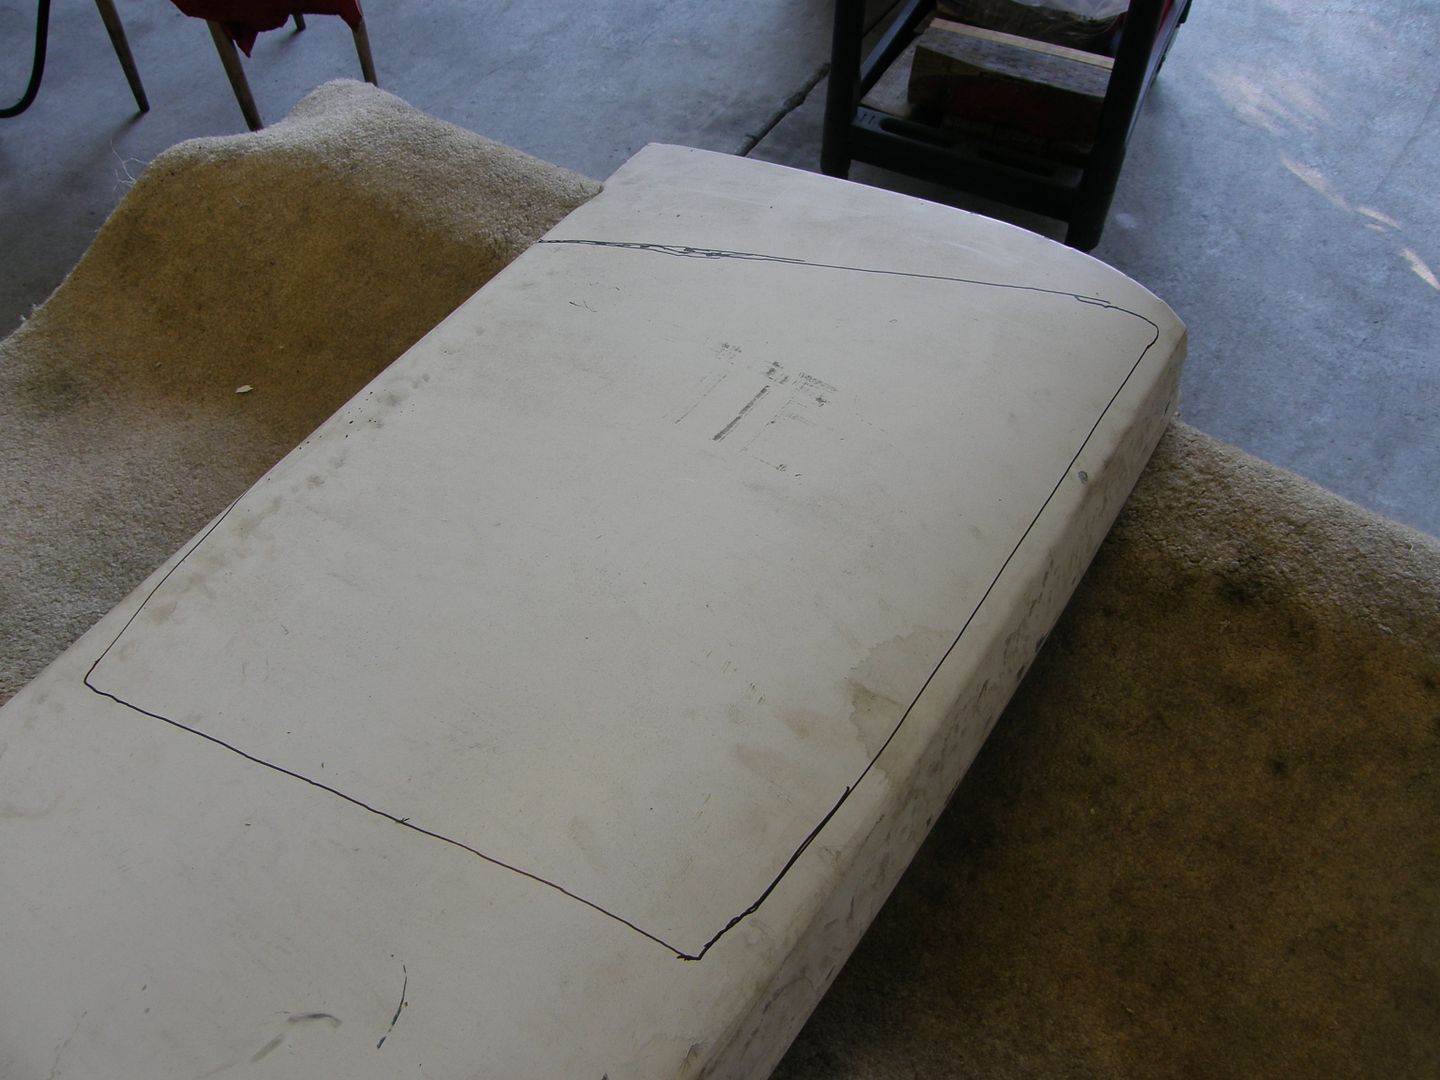
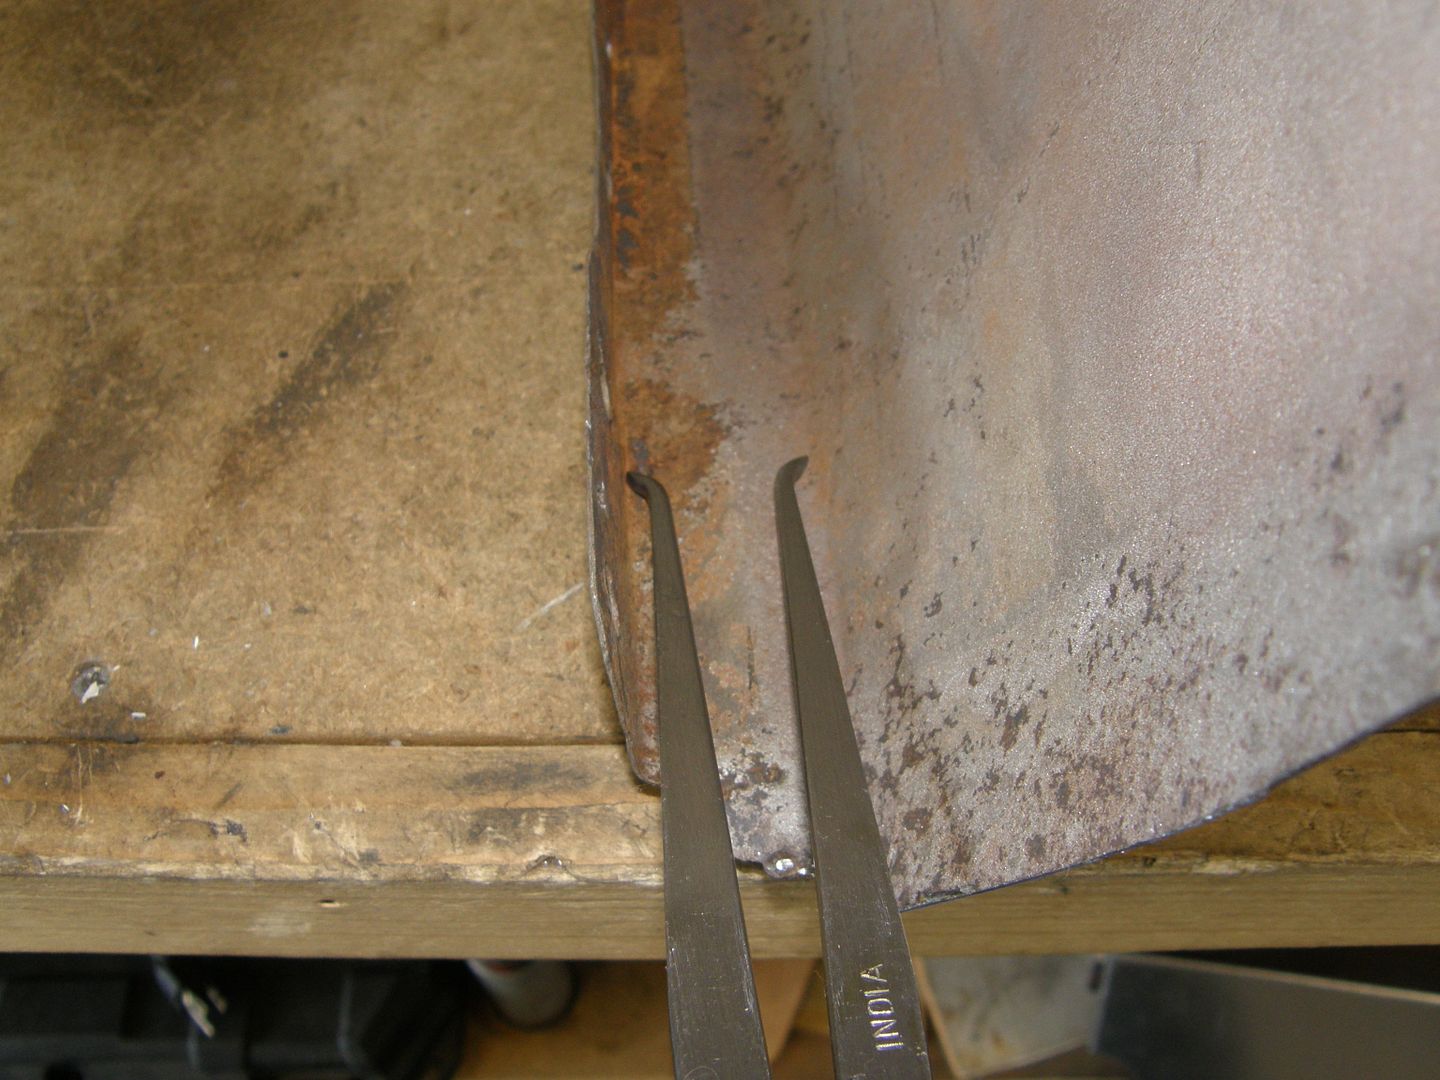
First order of business was to determine the contour on the original panel.
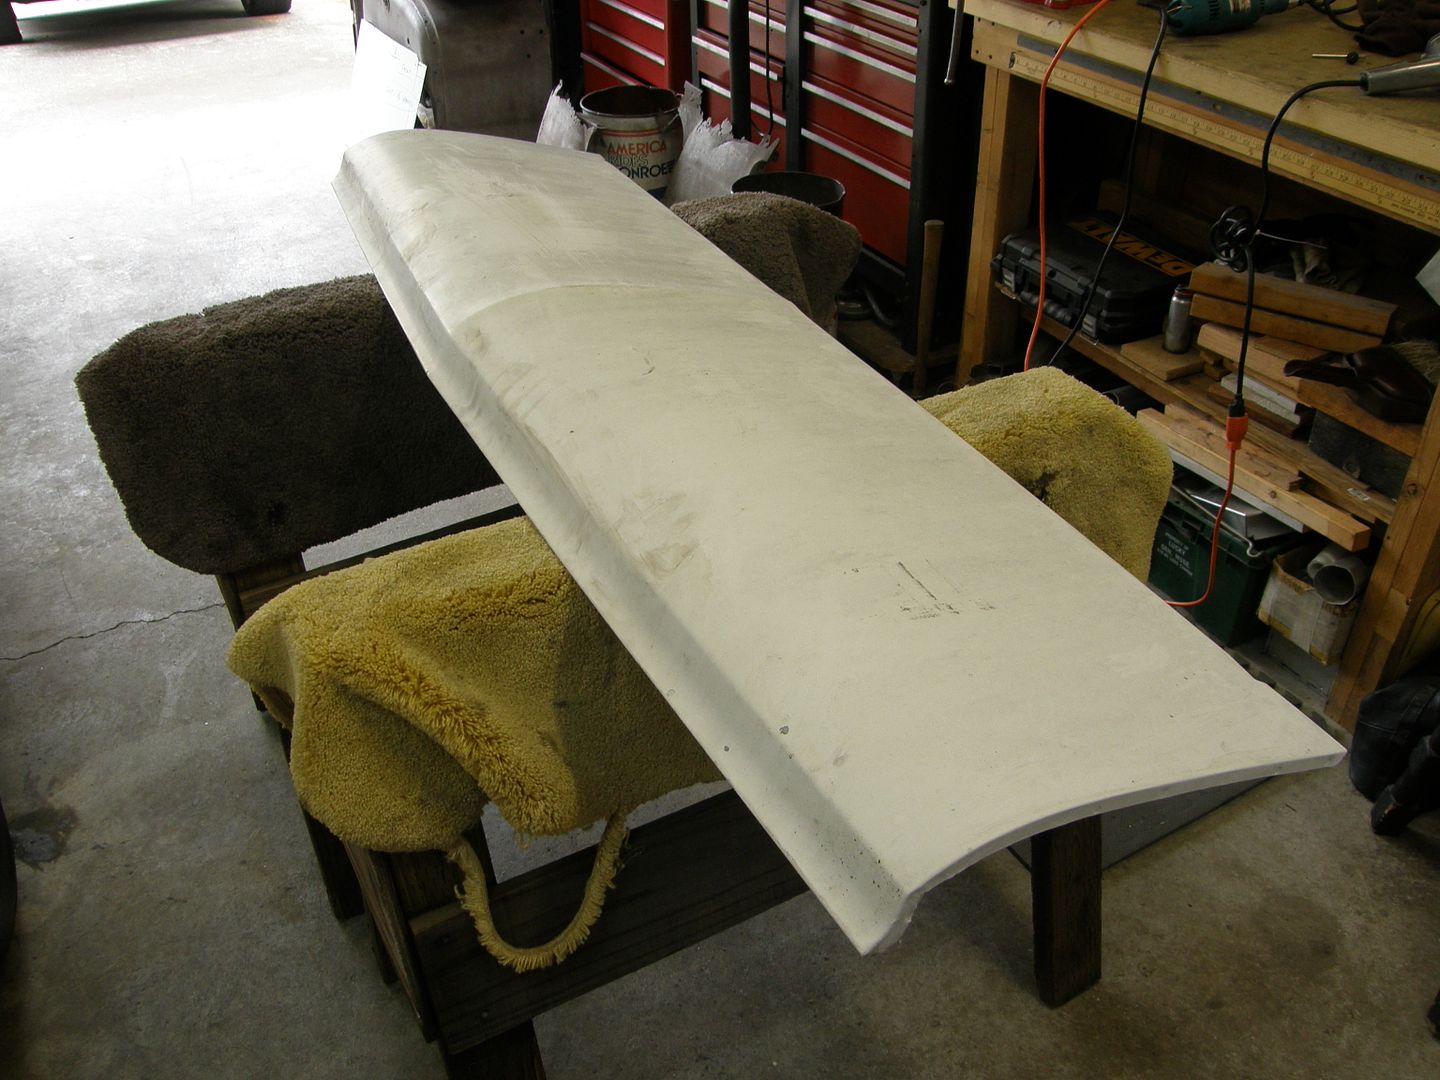
Now it's off to Pick-n-Pull to scavenge the appropriate sheetmetal. Scored this hood off a '91 Chevy van for $35 on half price day! Turns out all Chevy and GMC van hoods from the late '80's to the mid '90's are the same hood so any of 'em will work!
Couldn't have been a more perfect fit!
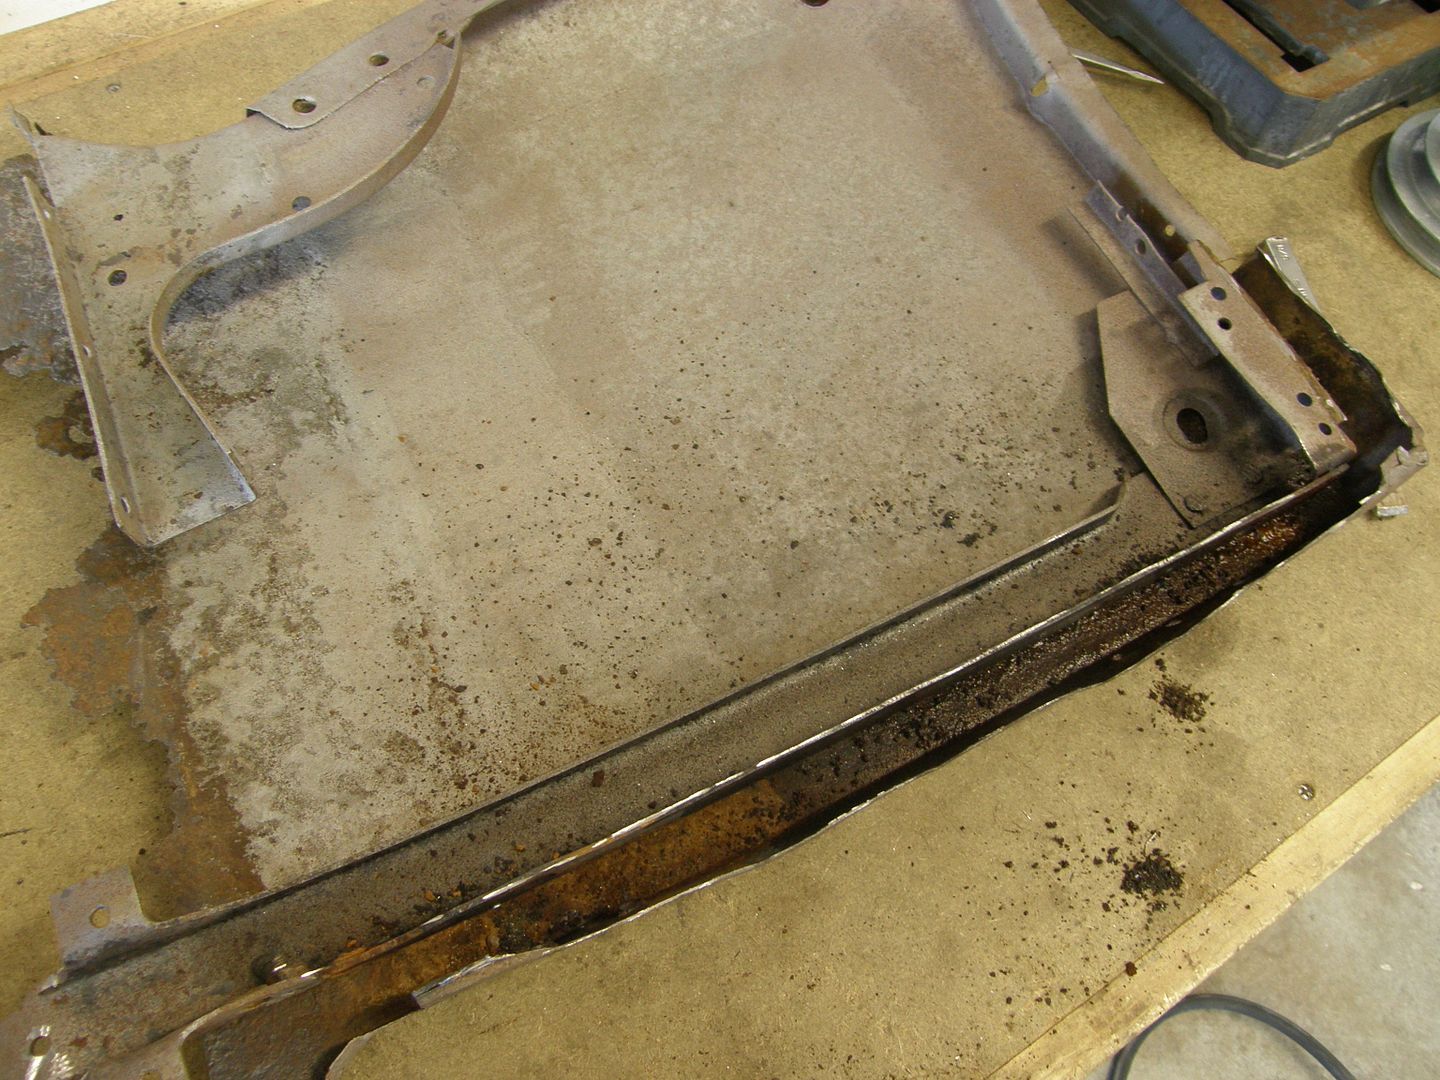
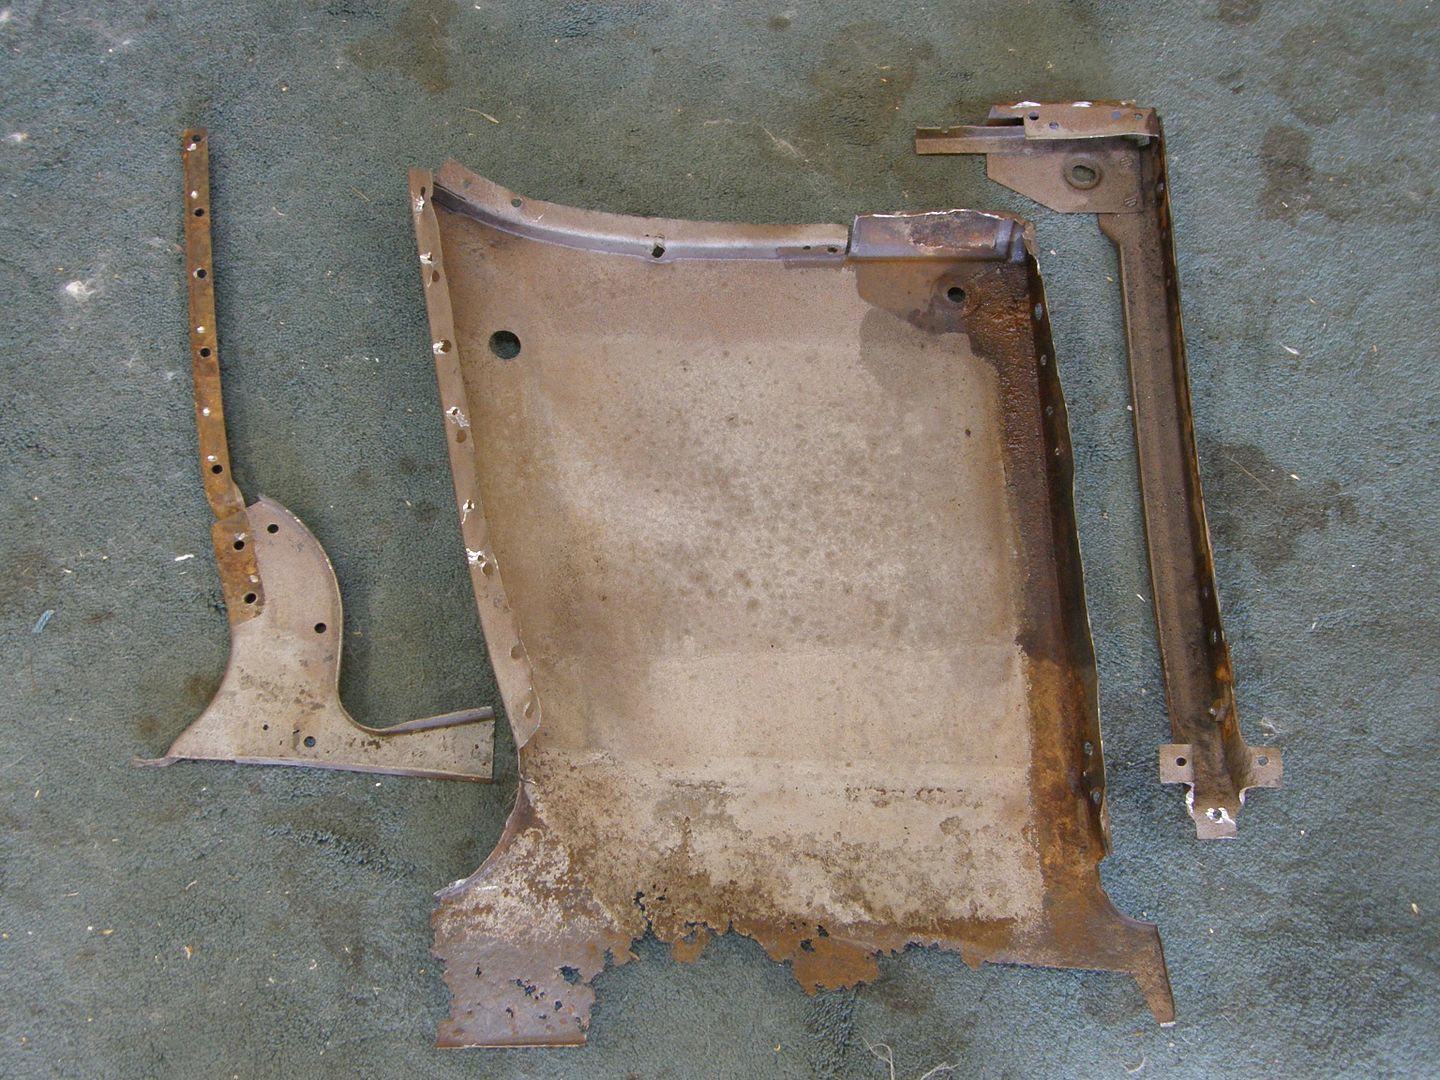
Had to remove the inner structure. About 50 spot welds! Easiest way I found was to grind the majority of the weld down with a carbide bit in a die grinder then drill out the final millimeter with a 1/4" bit. Took about 20 minutes!


Next, removed the quarter panel skin. Had to do some slicing with the cutoff wheel and some hammer and chisel work. The skin is spot welded to the support brackets in several places.

Wasn't even gonna mess with the bun panels. Too many compound curves! I ordered a pair from Howells ($80). Mocked 'em up and marked a line about 1-1/2" below the bun panel flange and proceeded to remove the offending piece. This gives me room to jockey the old panel around.
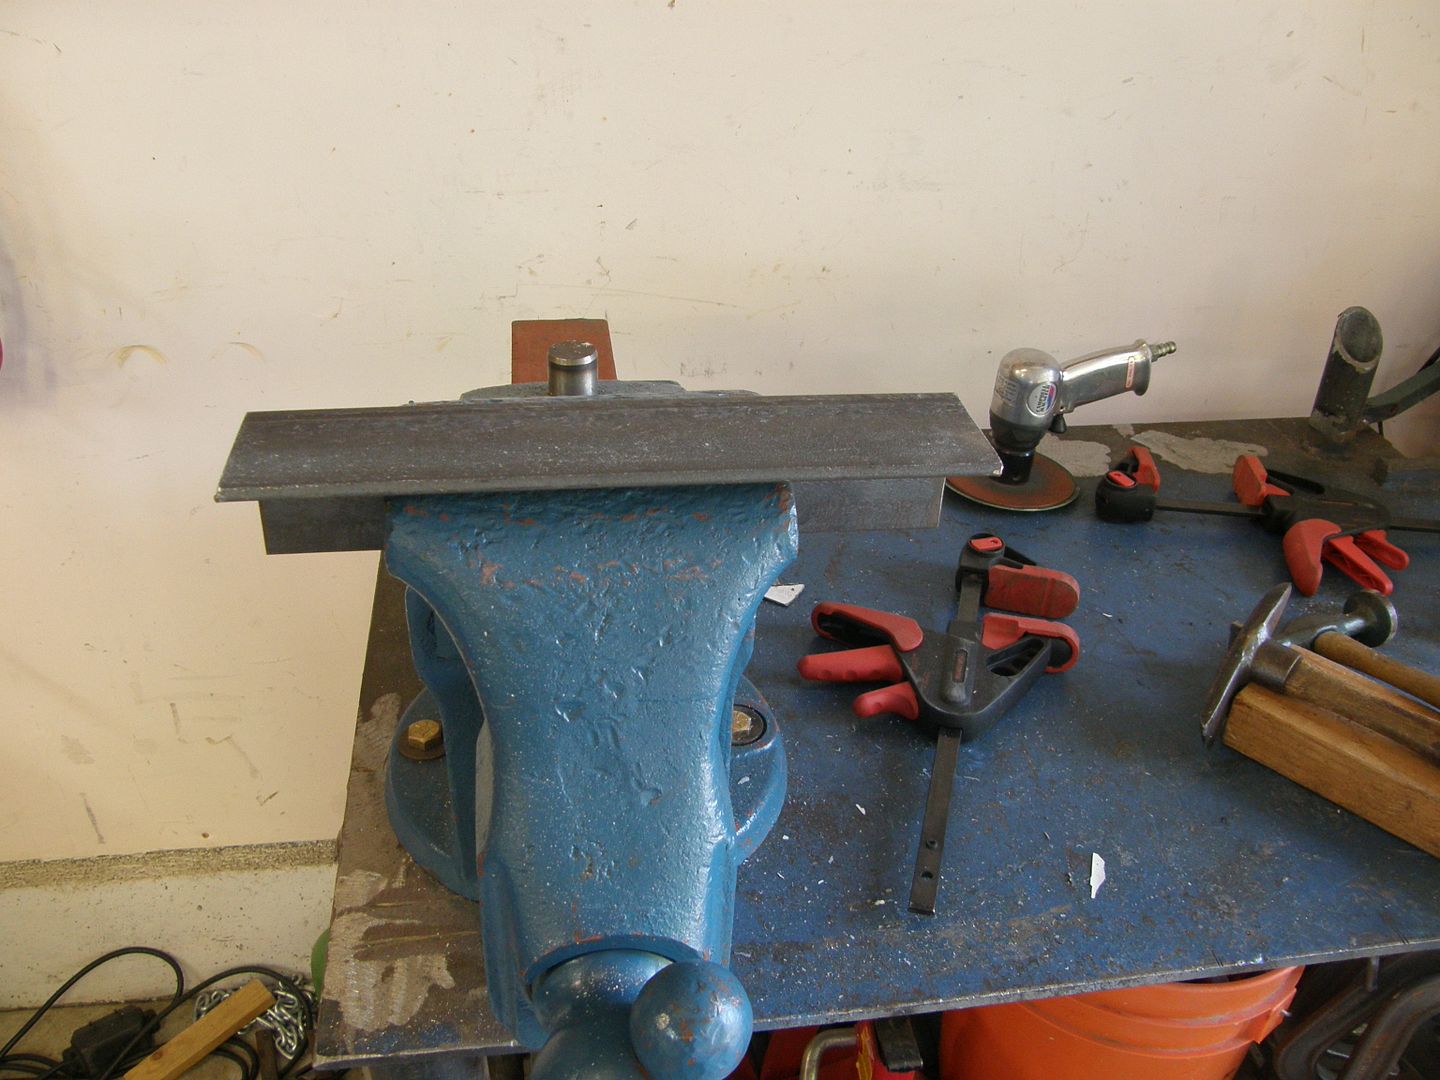
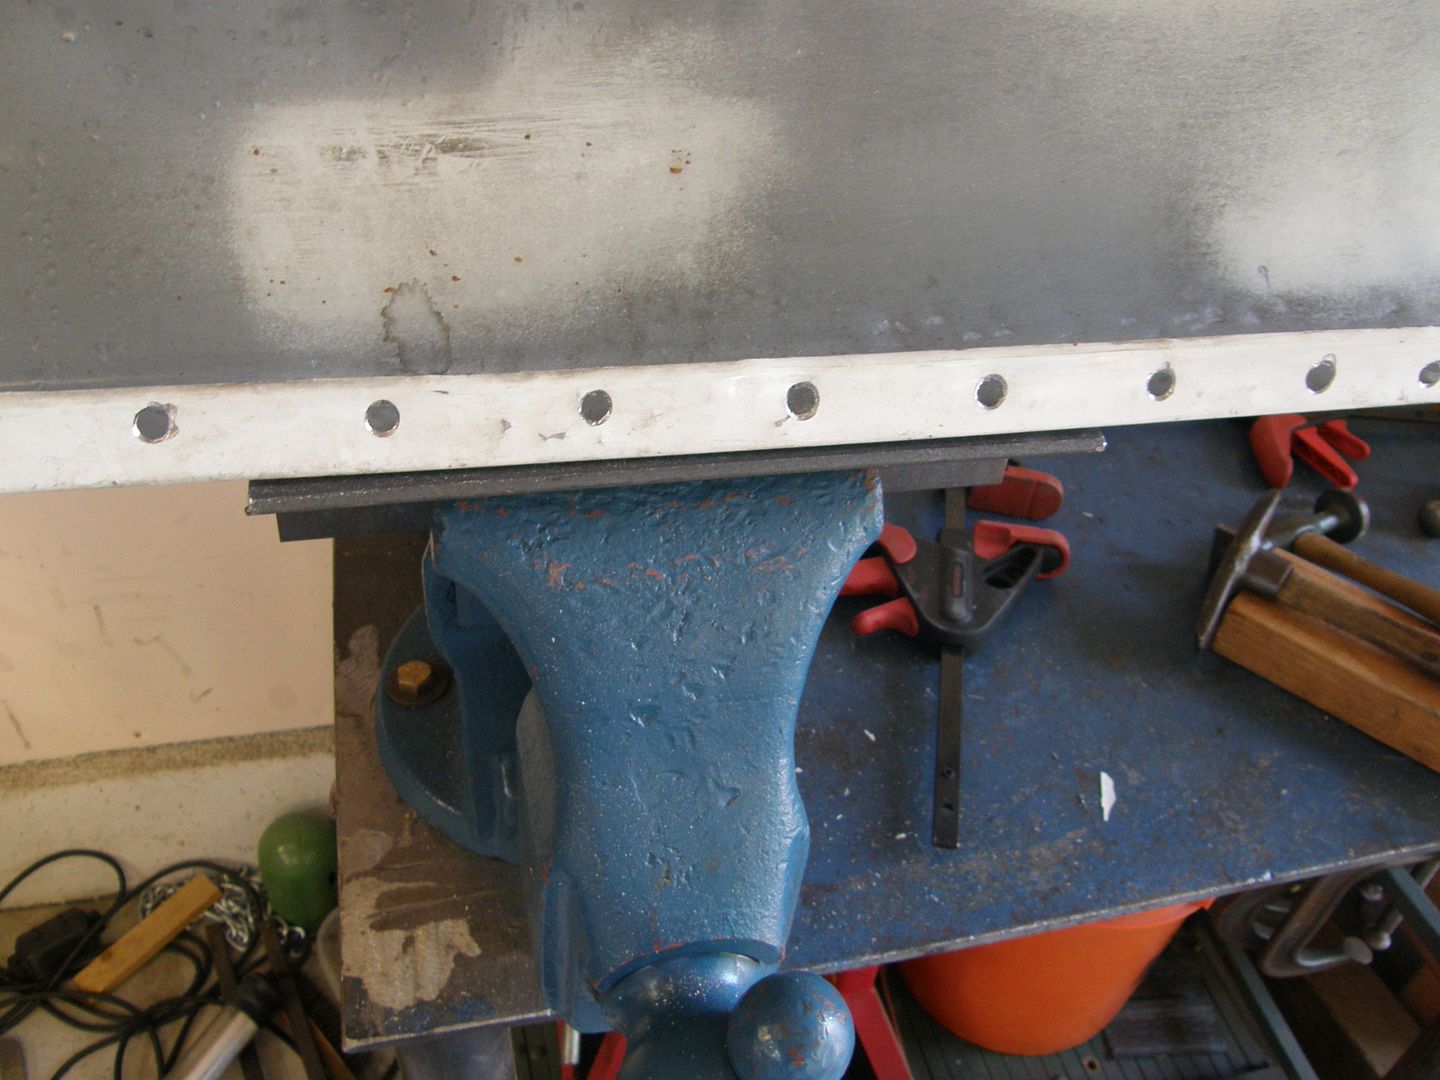
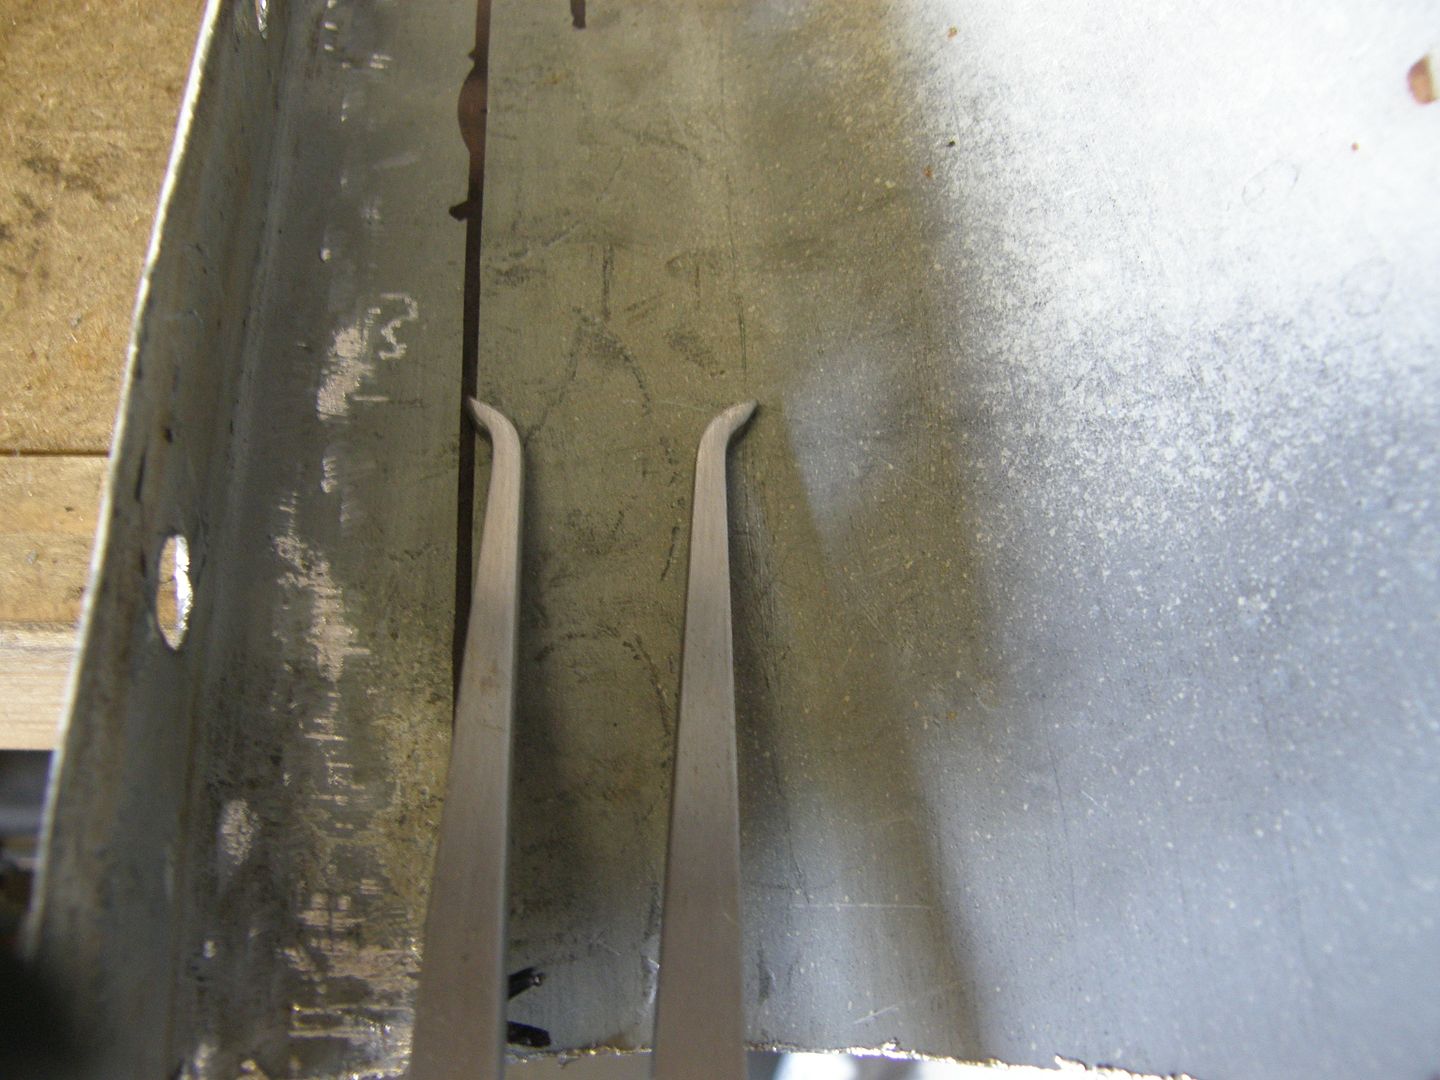
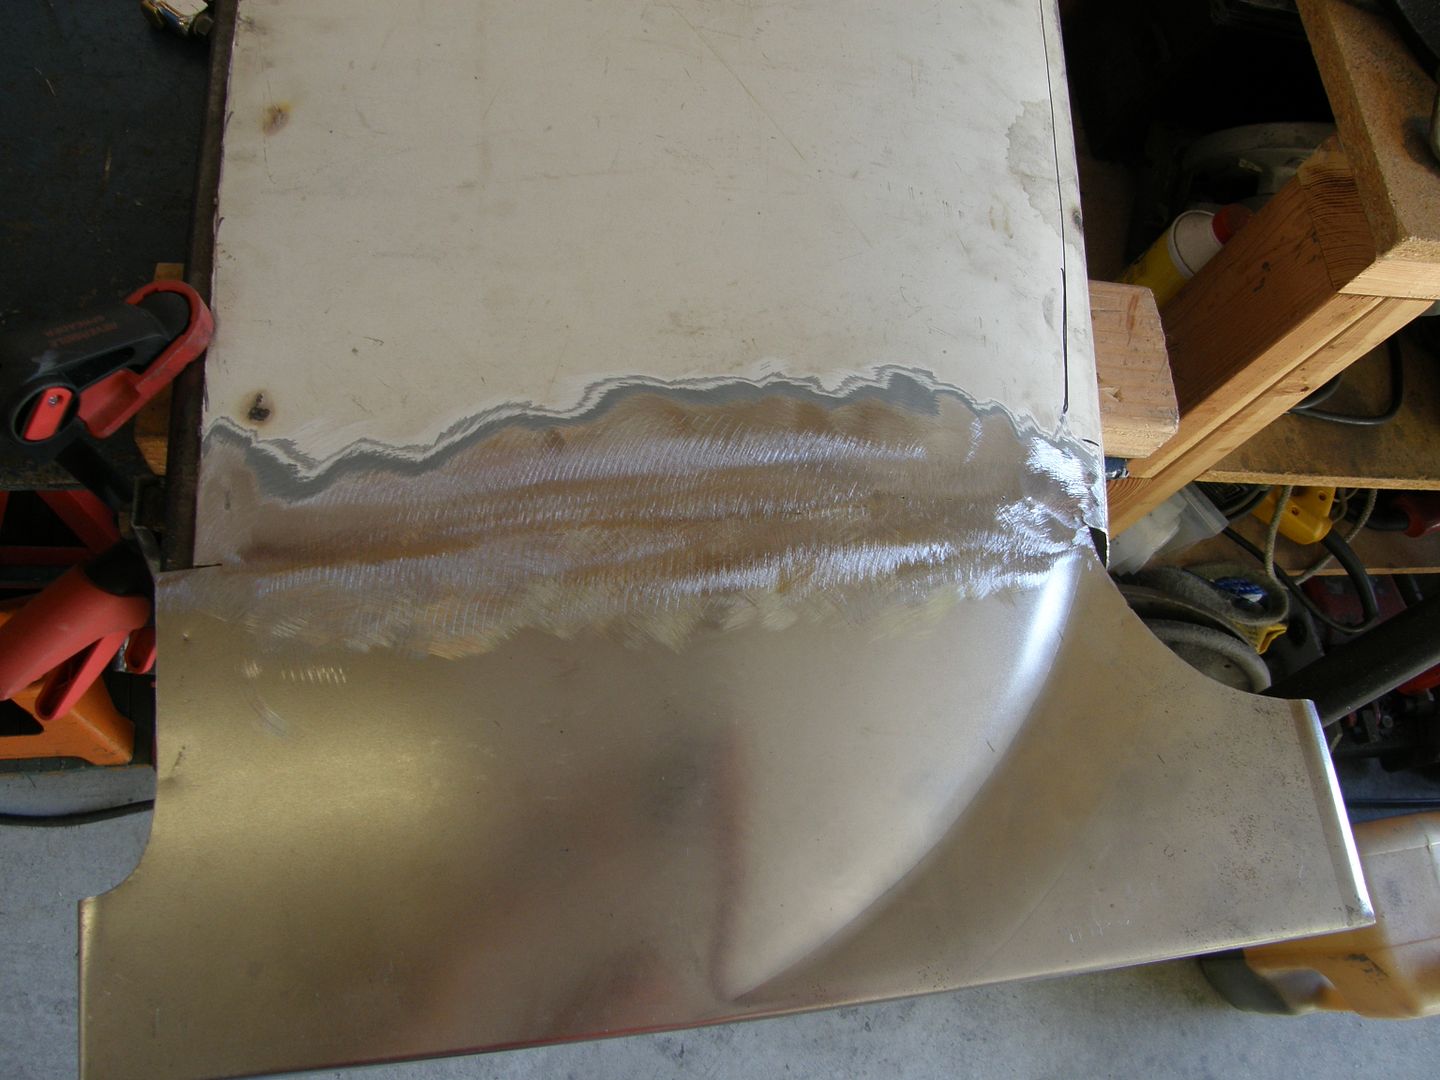
Now back to the donor sheetmetal. This concave curve needs to come out of the van hood. I hammered it flat simply by chucking a length of angle iron in the vise and using it as a stationary dolly.

Next I laid the quarter skin on the new metal and made a rough outline. Then I cut away any excess metal giving myself an extra inch or so just to be sure.
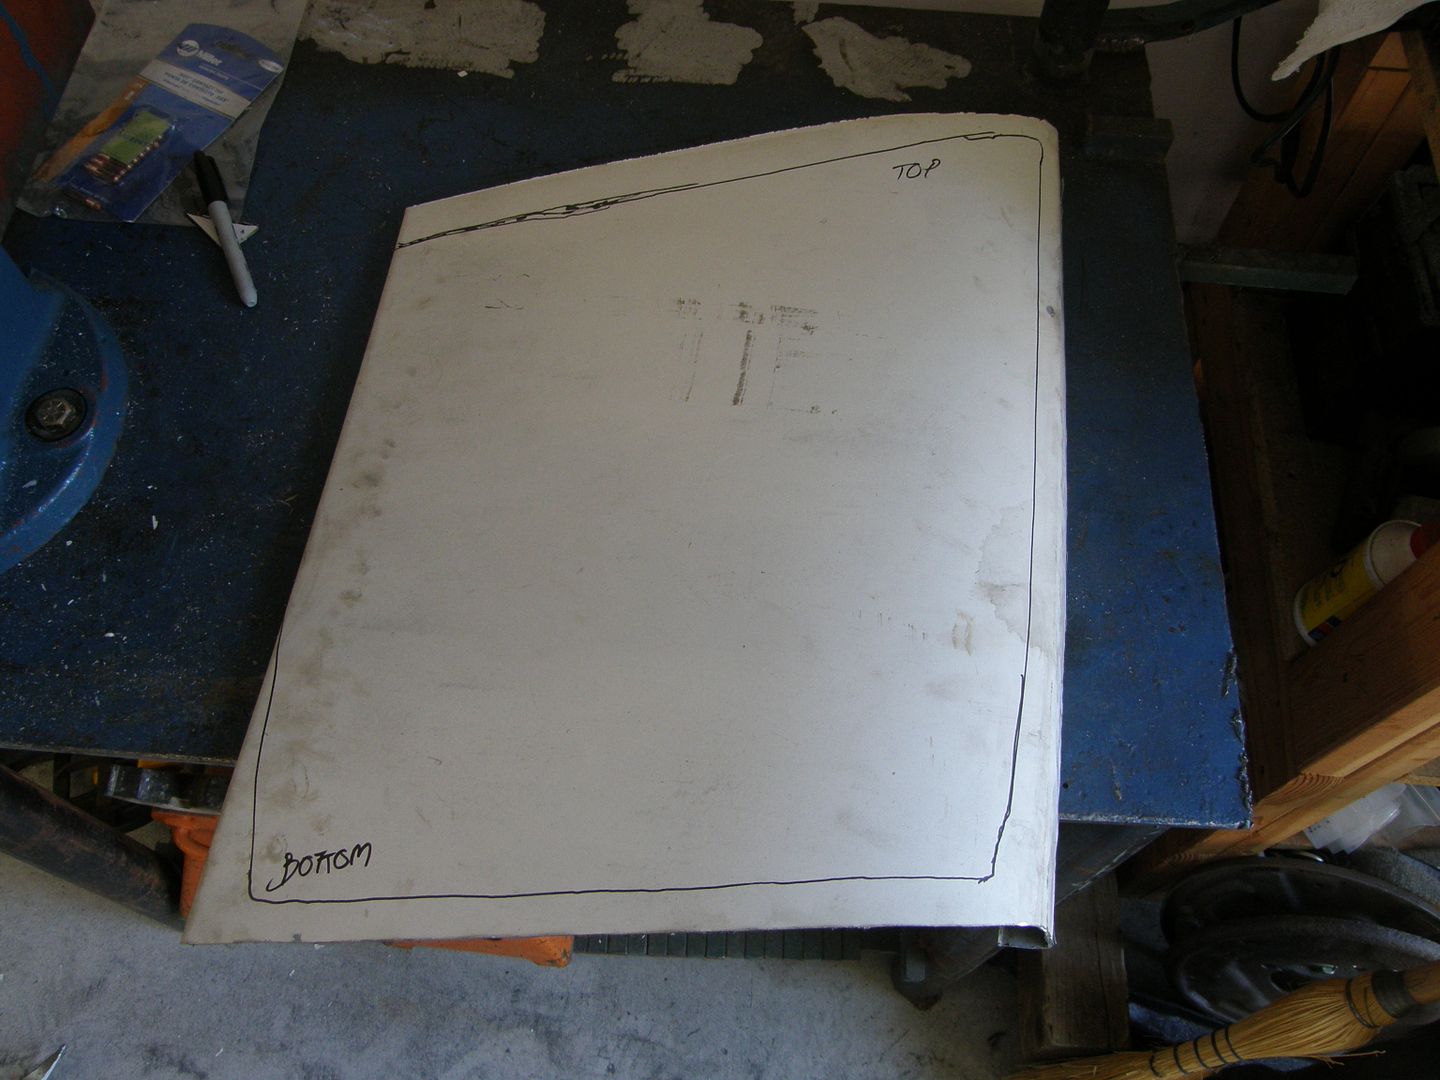
You'll notice there's not quite enough metal to lay out the entire door. It's a little short in the upper front section. Simply a matter of welding in a small patch section later in the build.
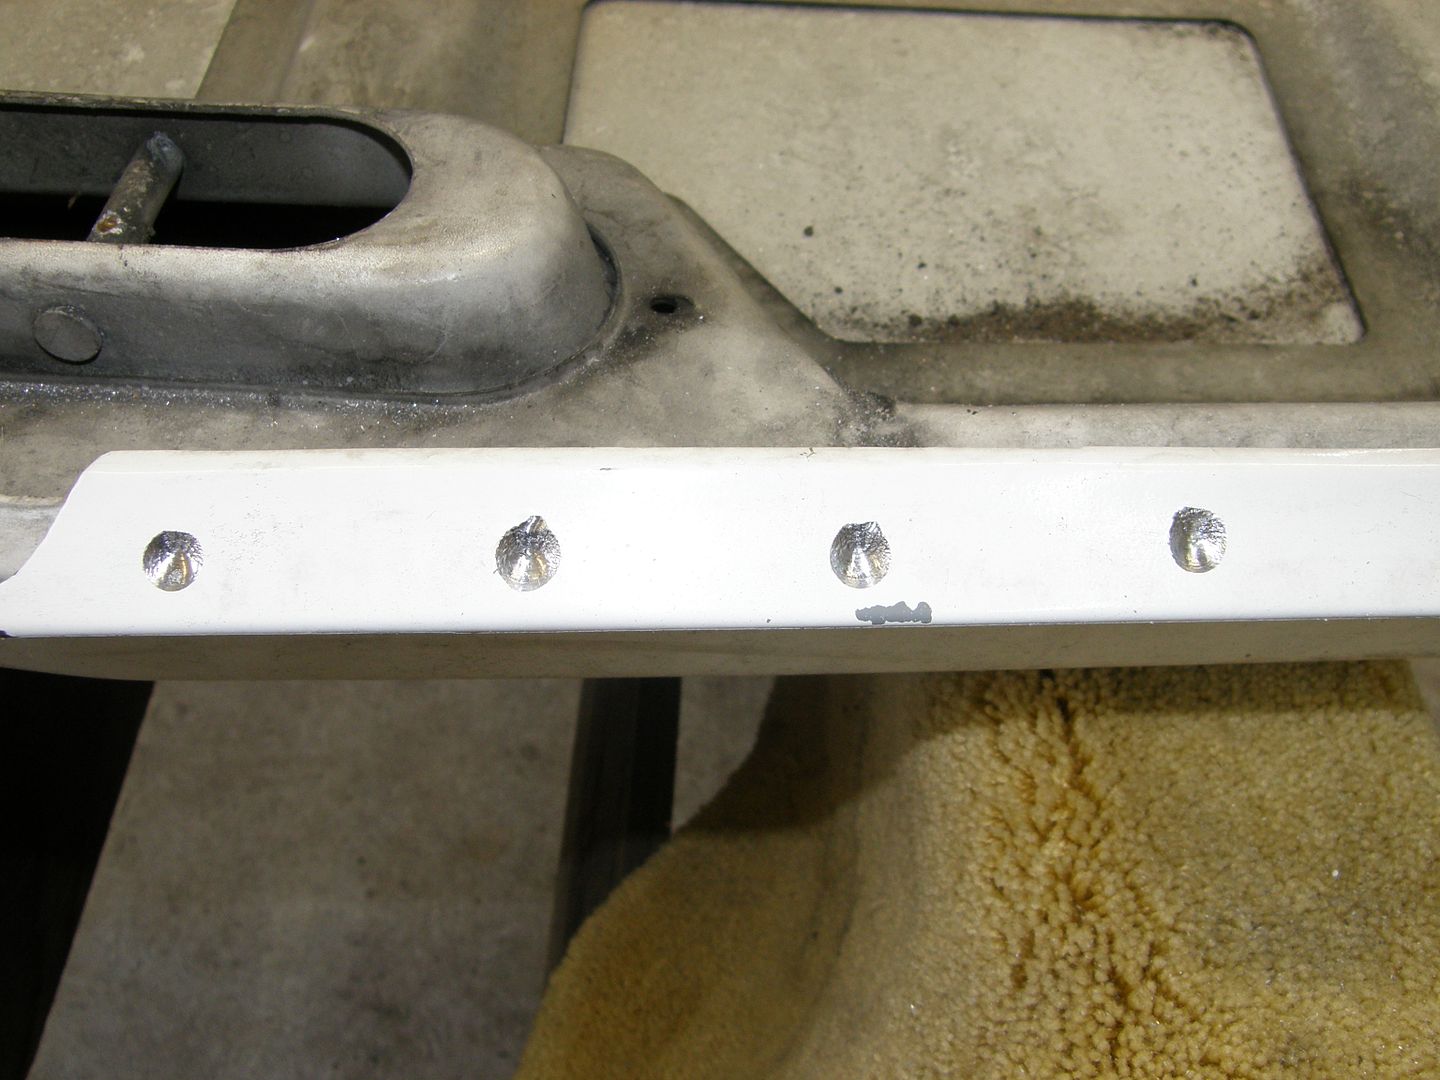
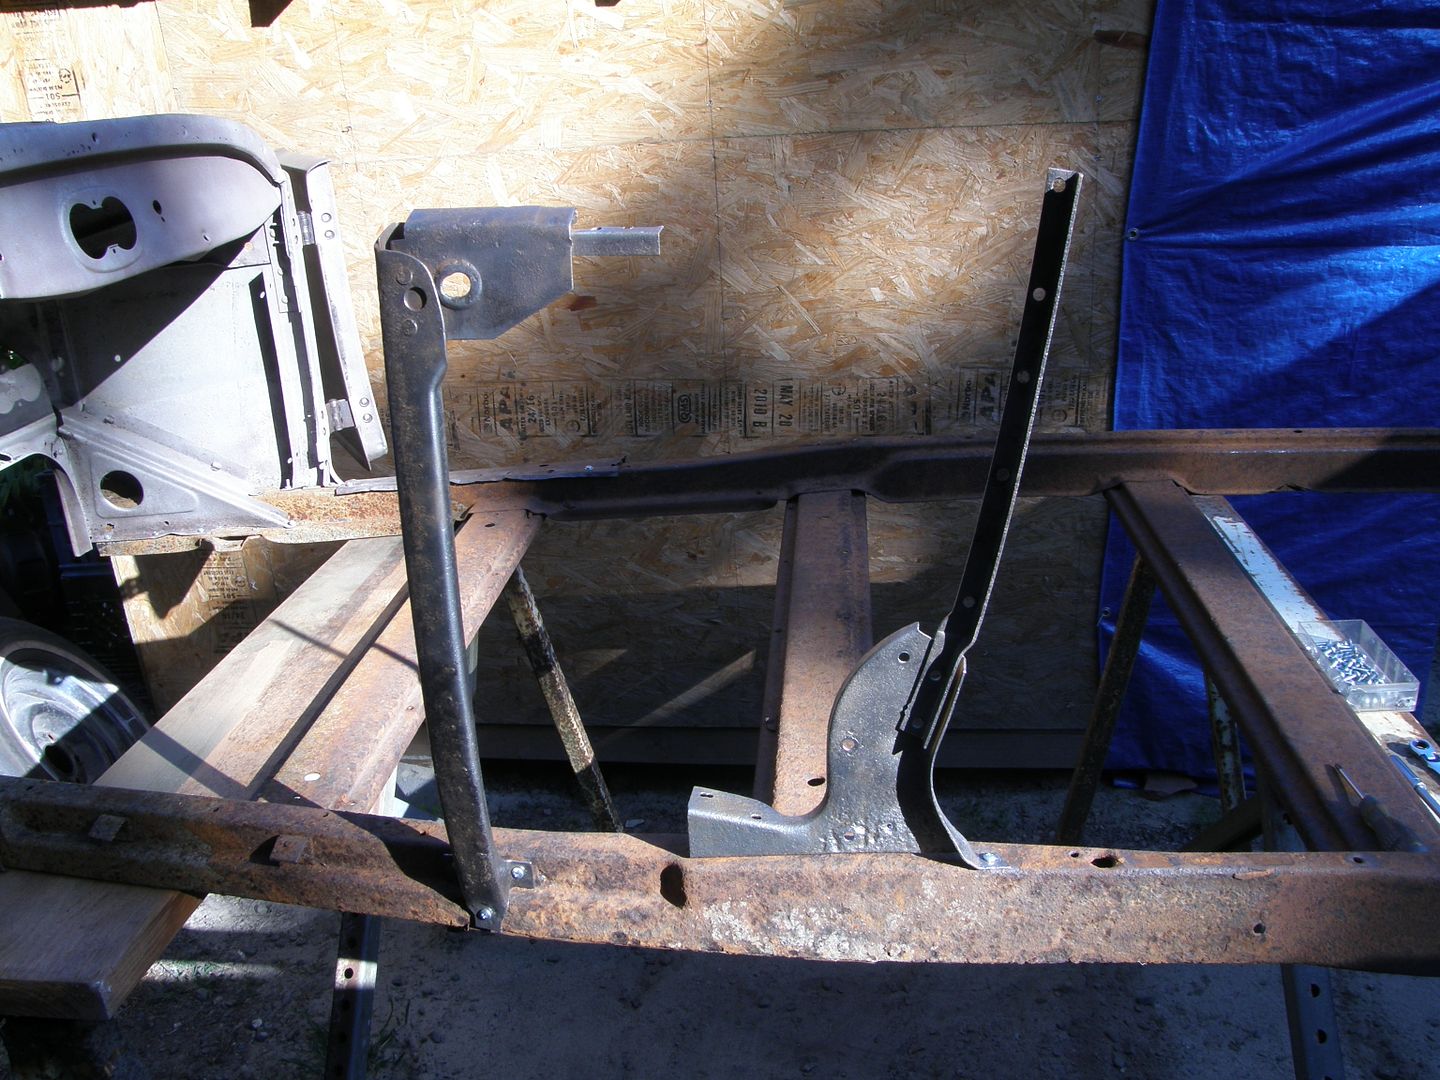
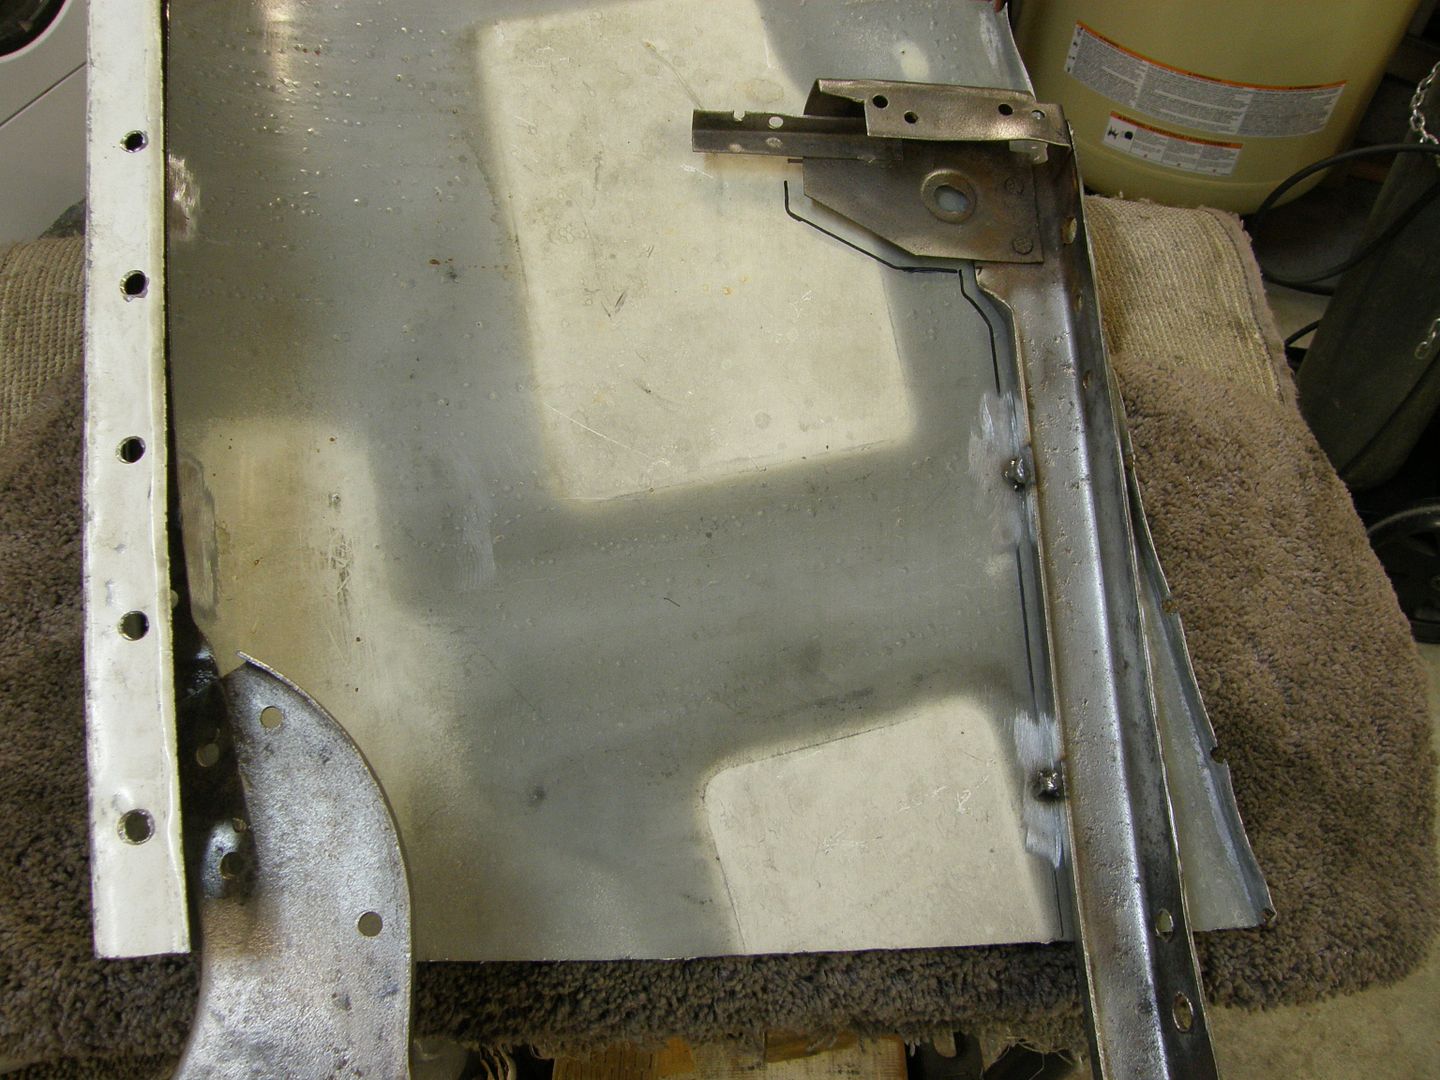
Next, I mounted the support brackets to the subframe.....
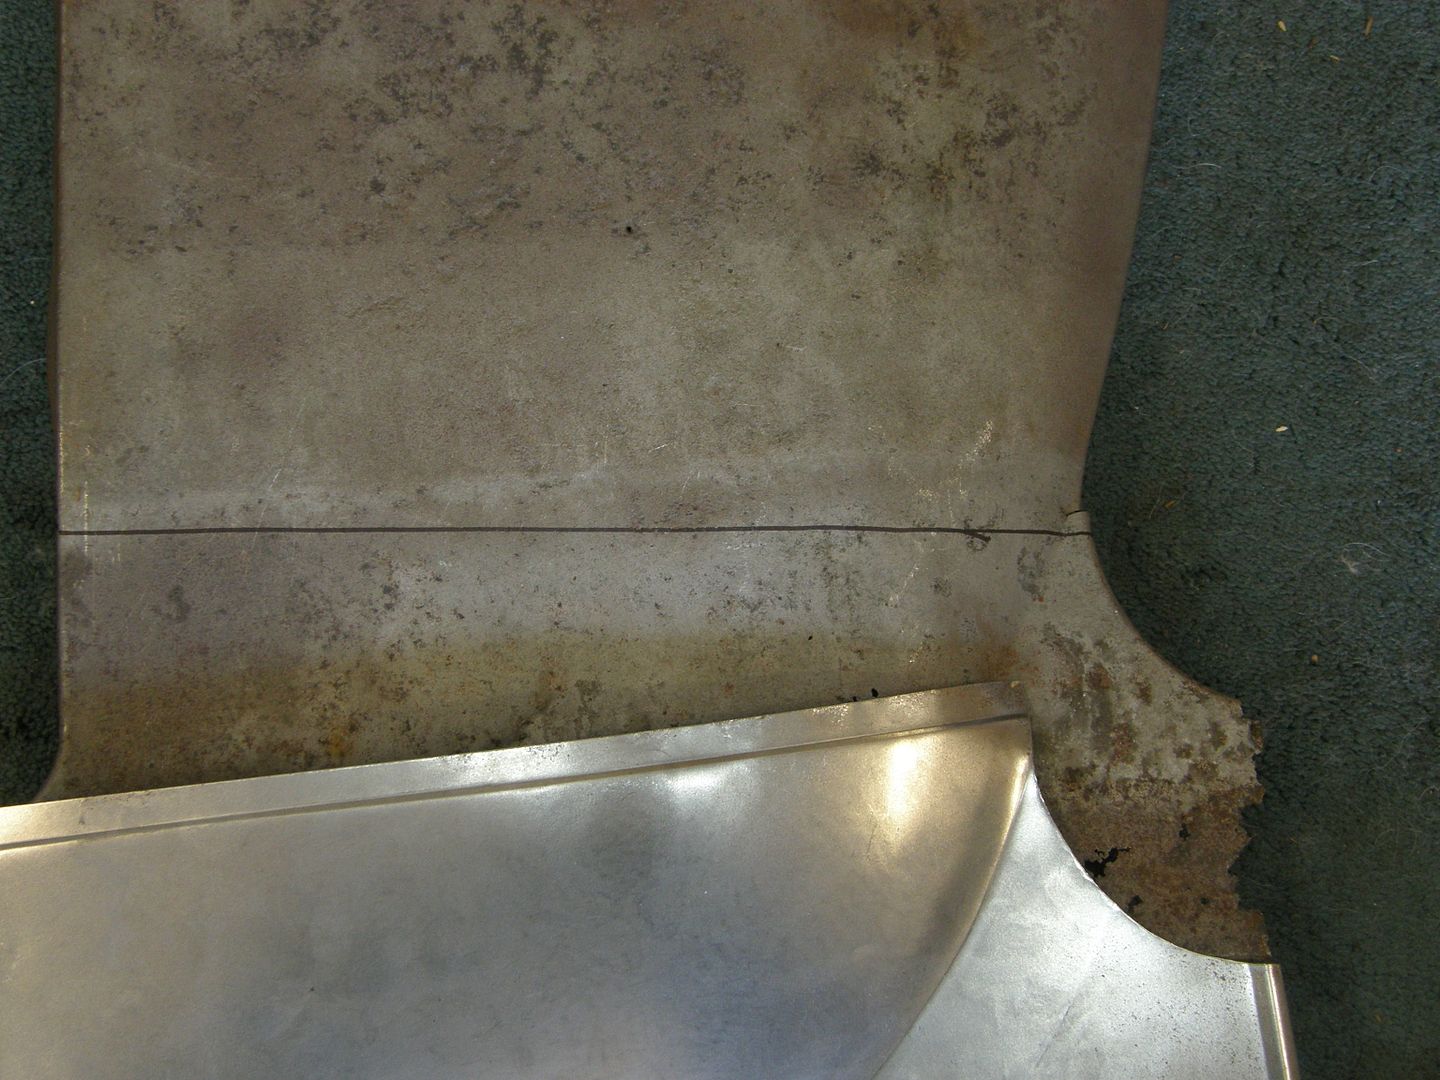
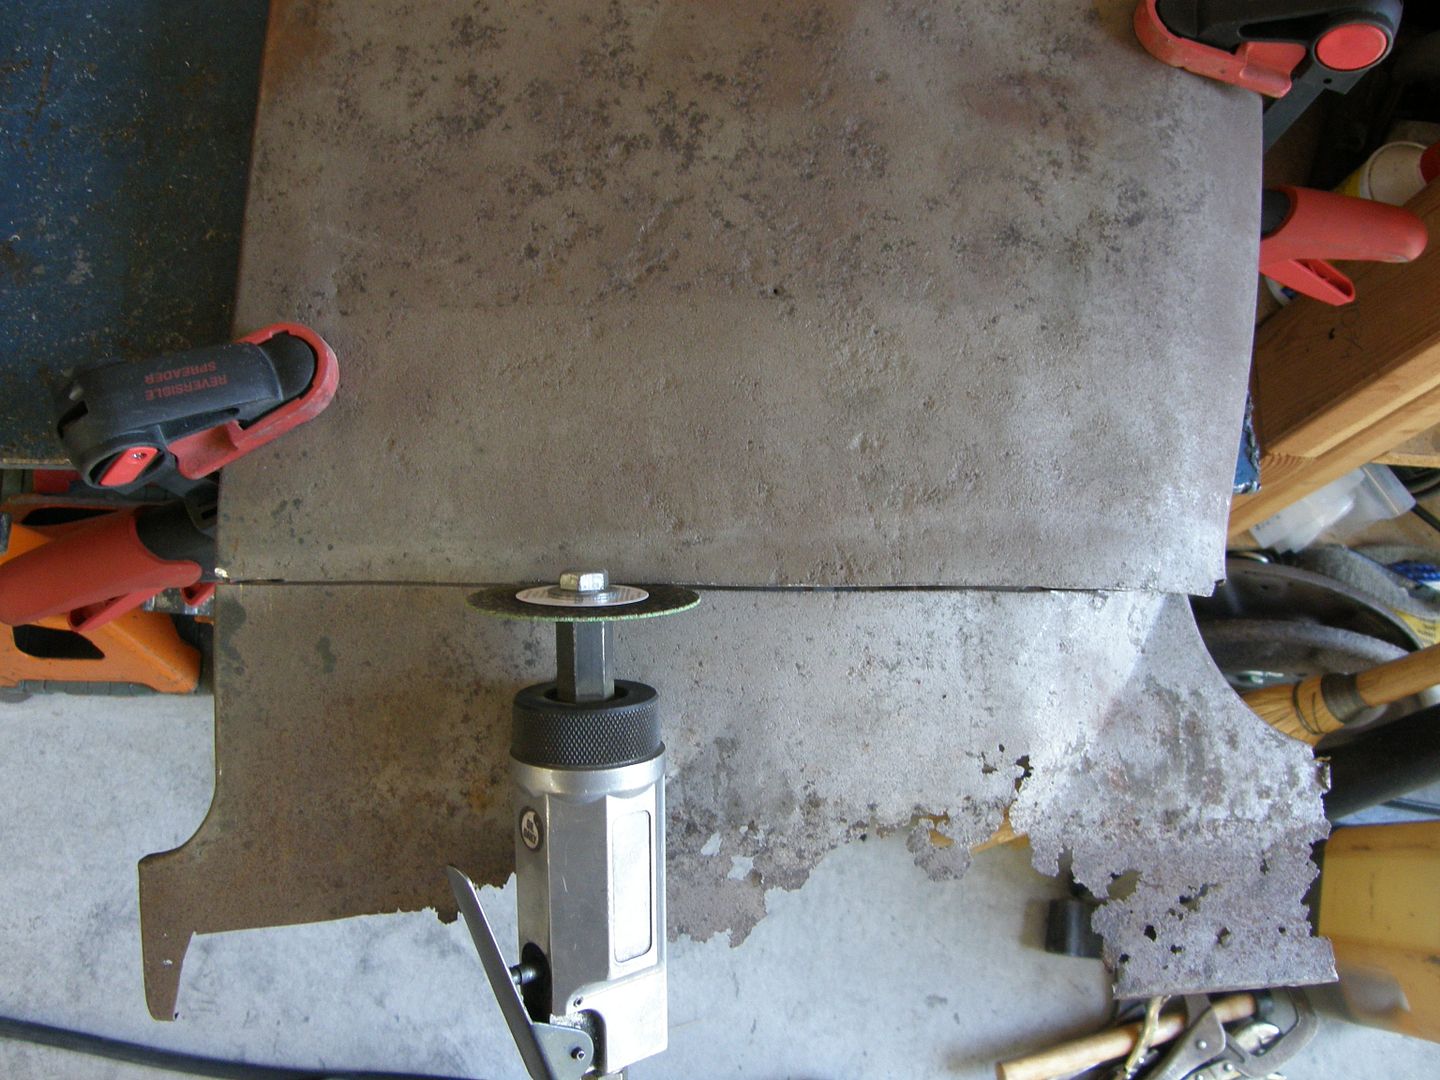
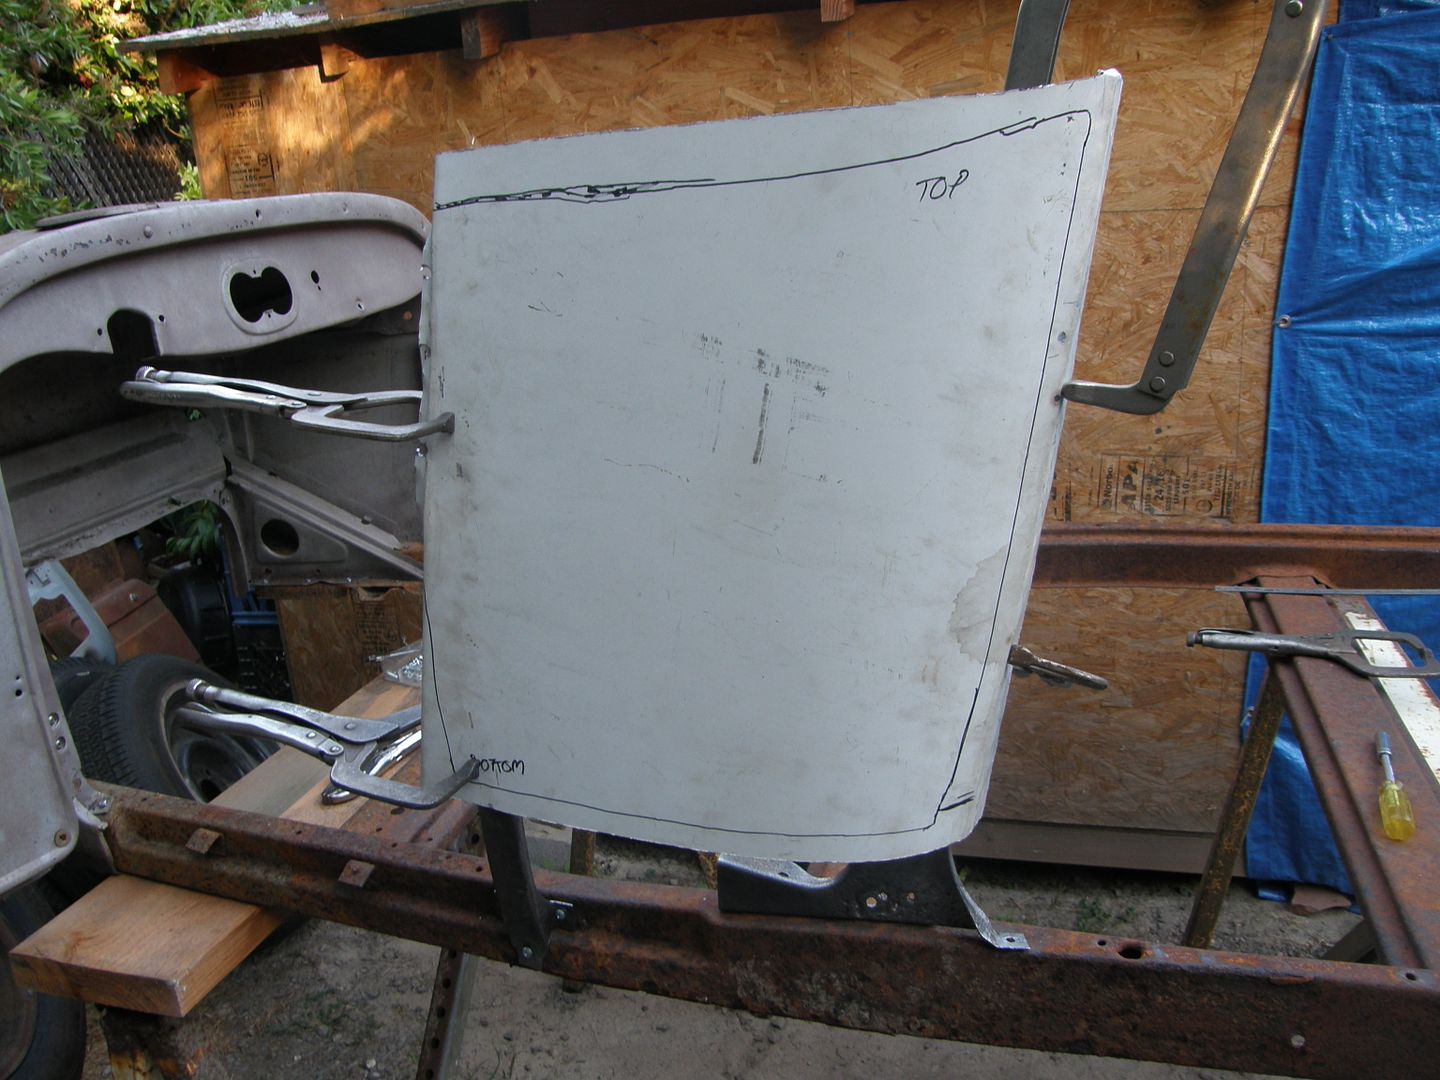
Then I measured the distance between the flange and the corner of the old panel and transferred that to the new panel. That allowed me to determine exactly where to mount the support brackets. To the left of the black line will be removed, flange and all.
Mocked up the new panel onto the support brackets and double checked by mounting the bun panel also.

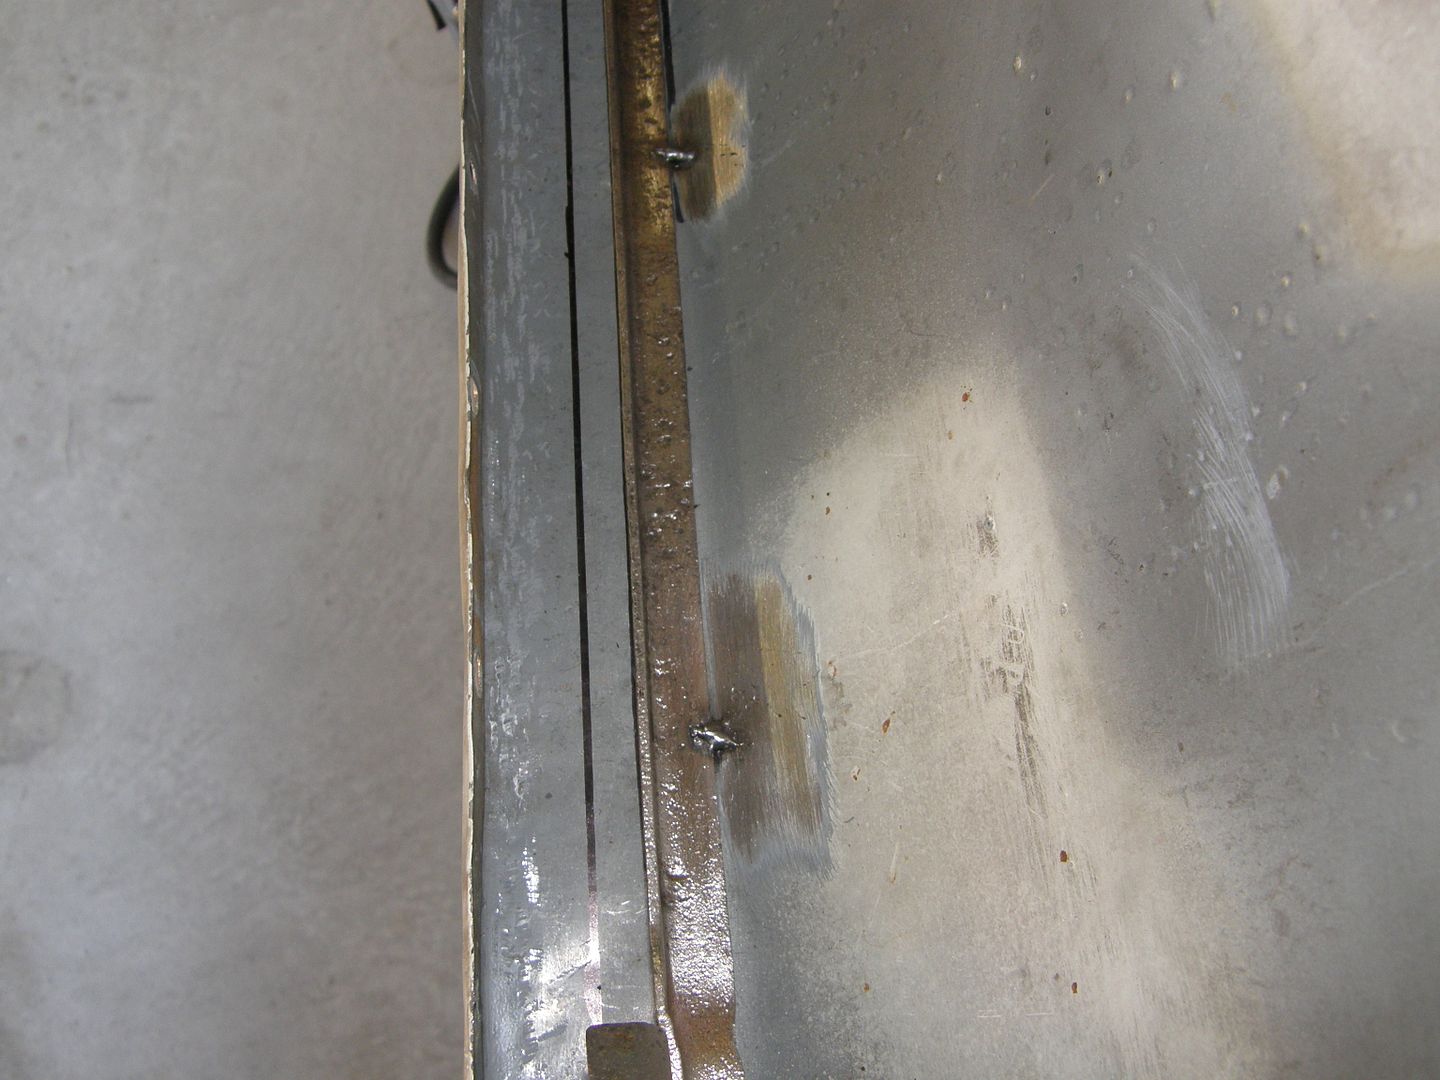
Marked where the rear support bracket needed to mount and tacked it to the new panel. After the flanged piece is removed, I'll hammer the 3/4" or so between the bracket and the black line around to form a new flange. Tacked the front bracket also.
Trimmed the flange off the bun panel and trued up the edge of the new quarter for a good fit.
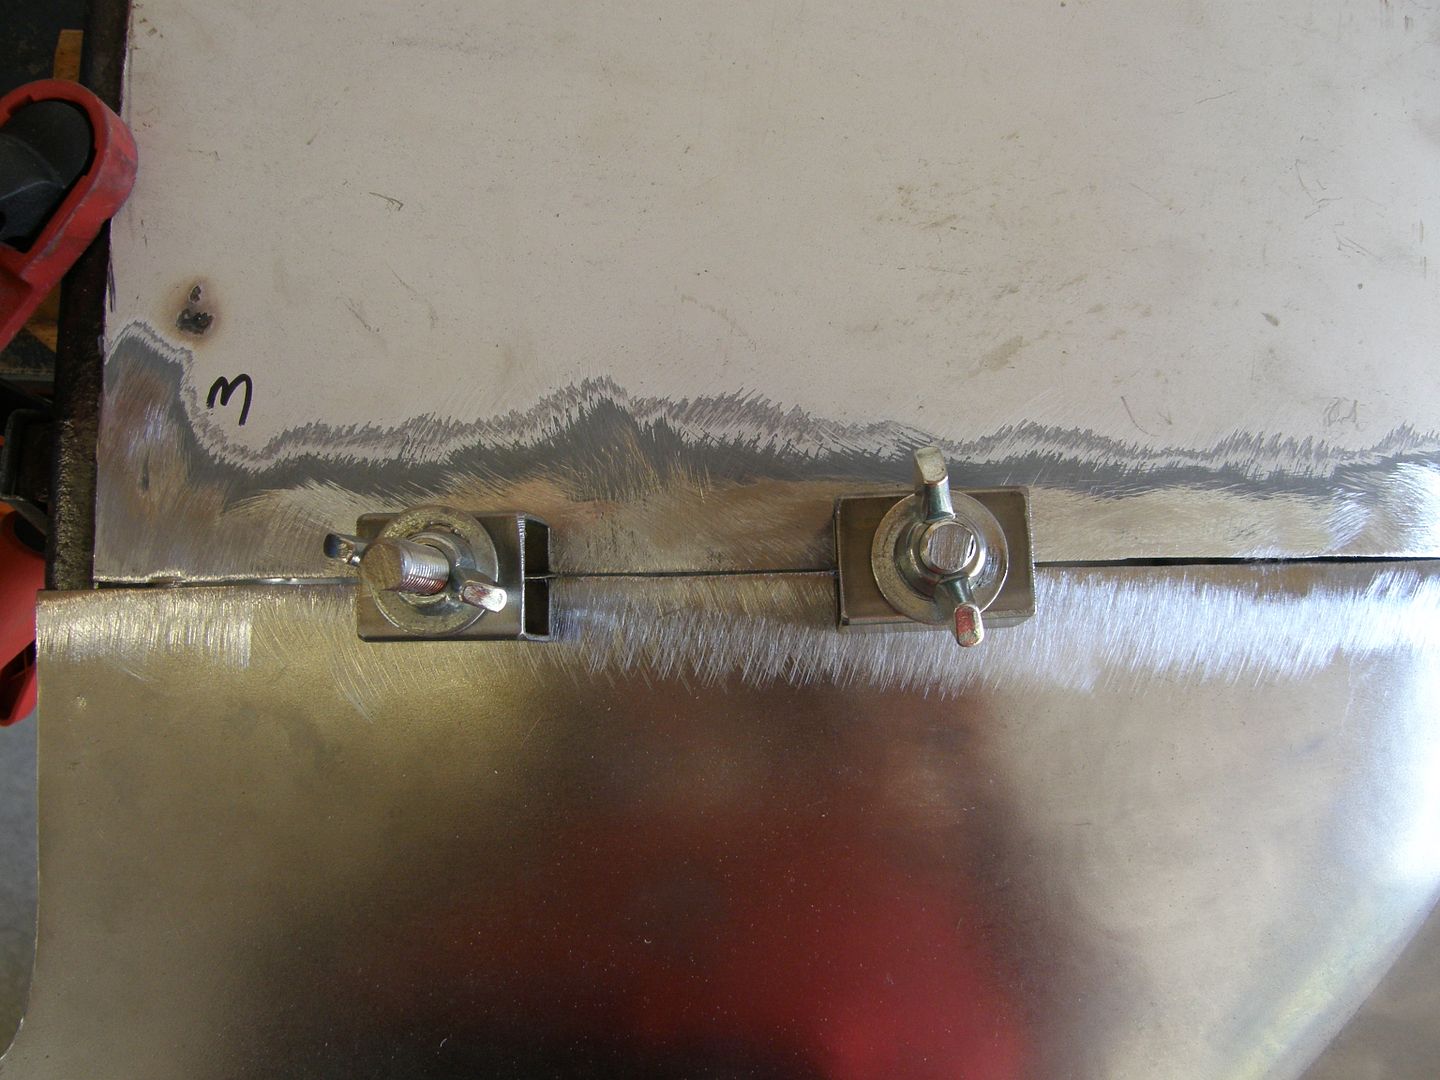
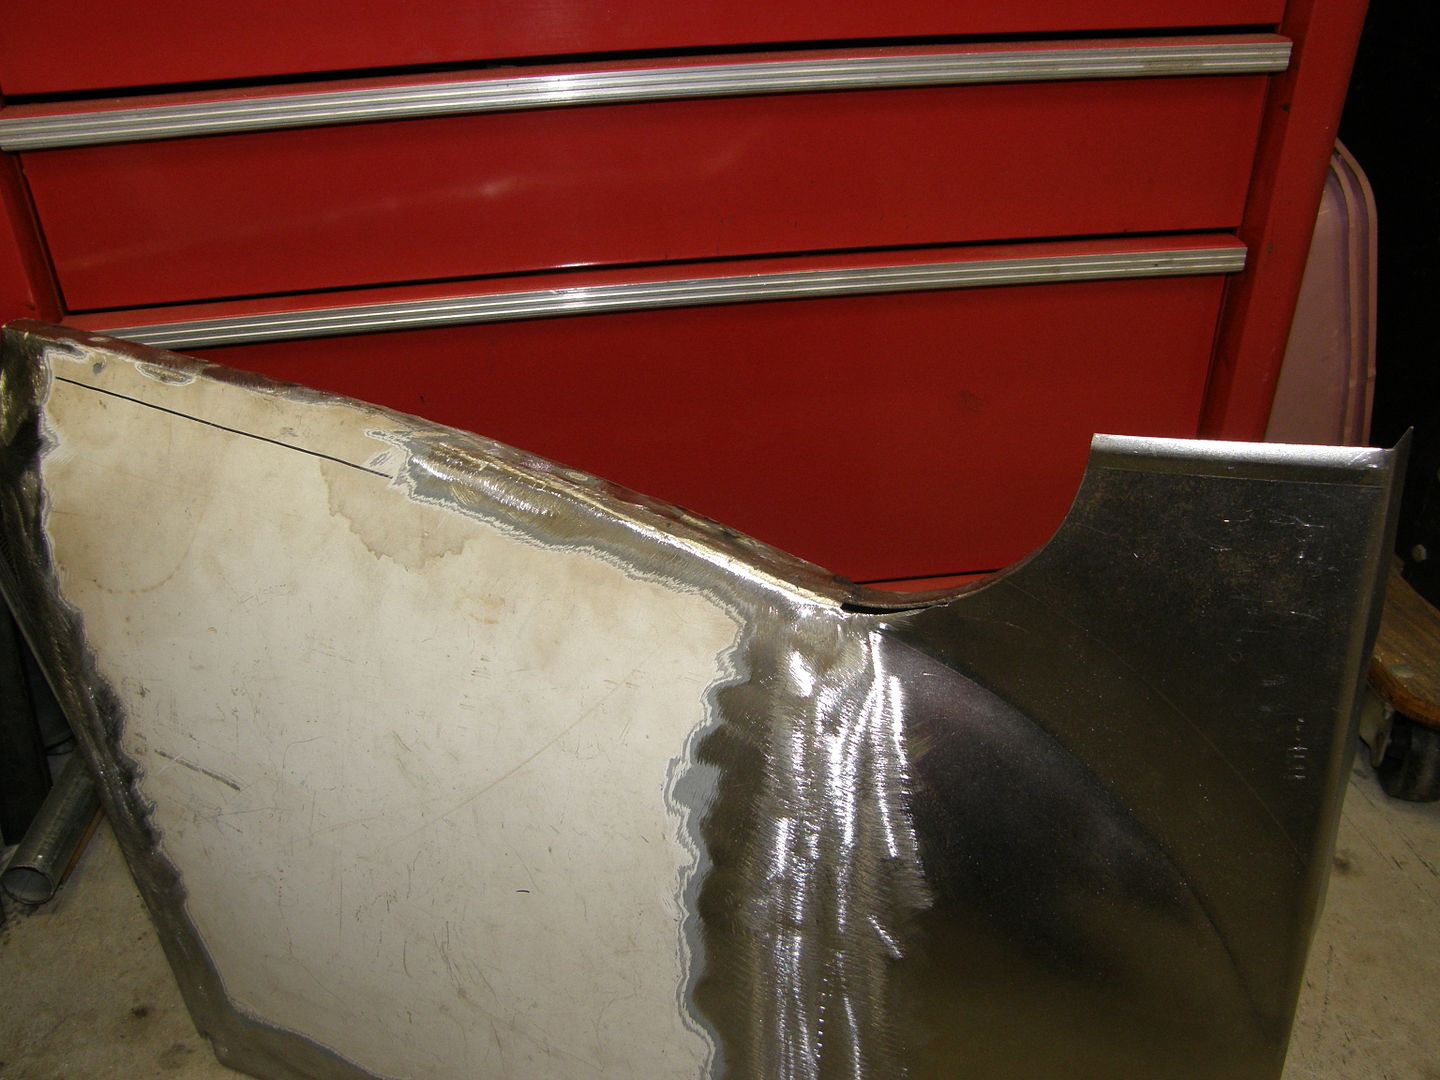
Tacked.
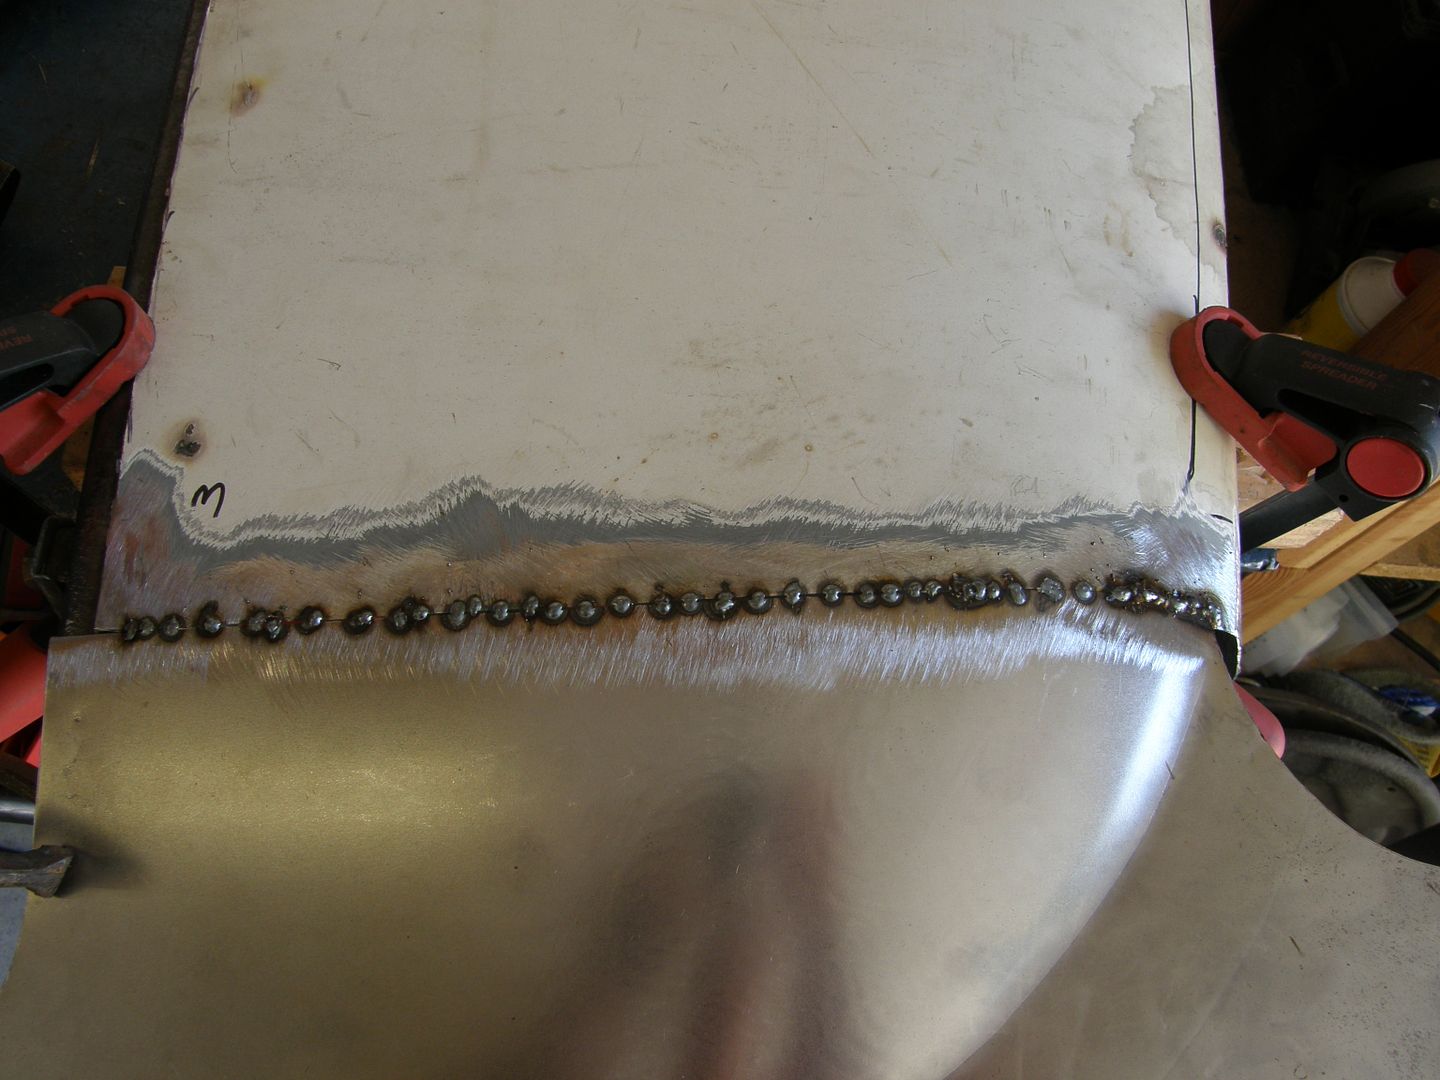
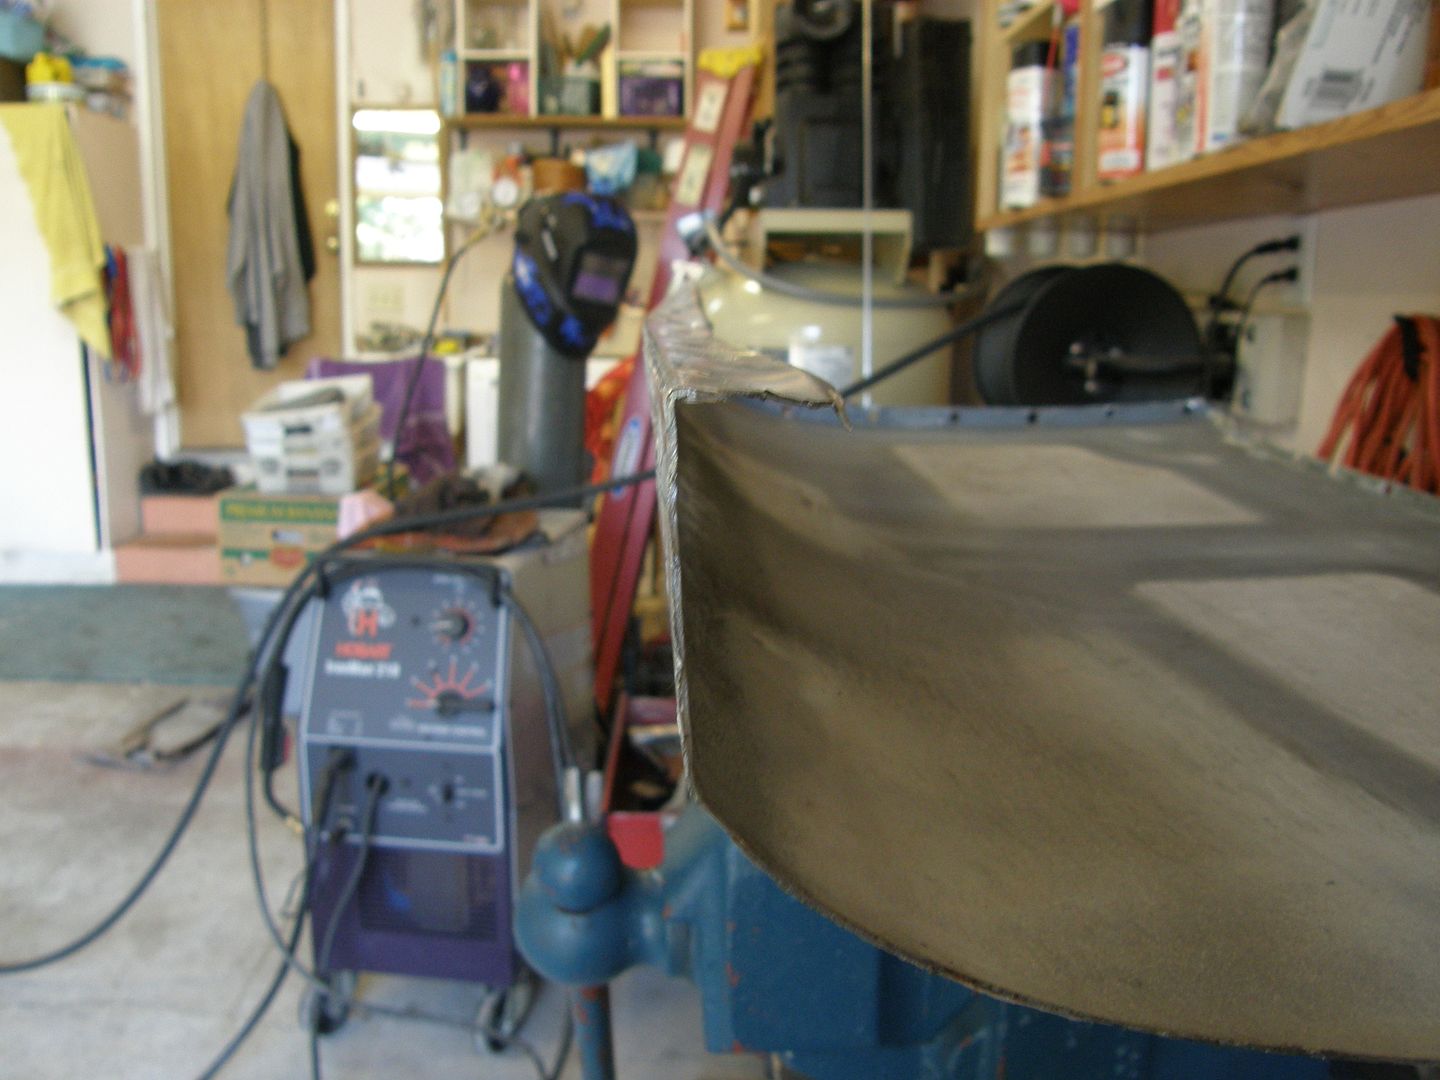
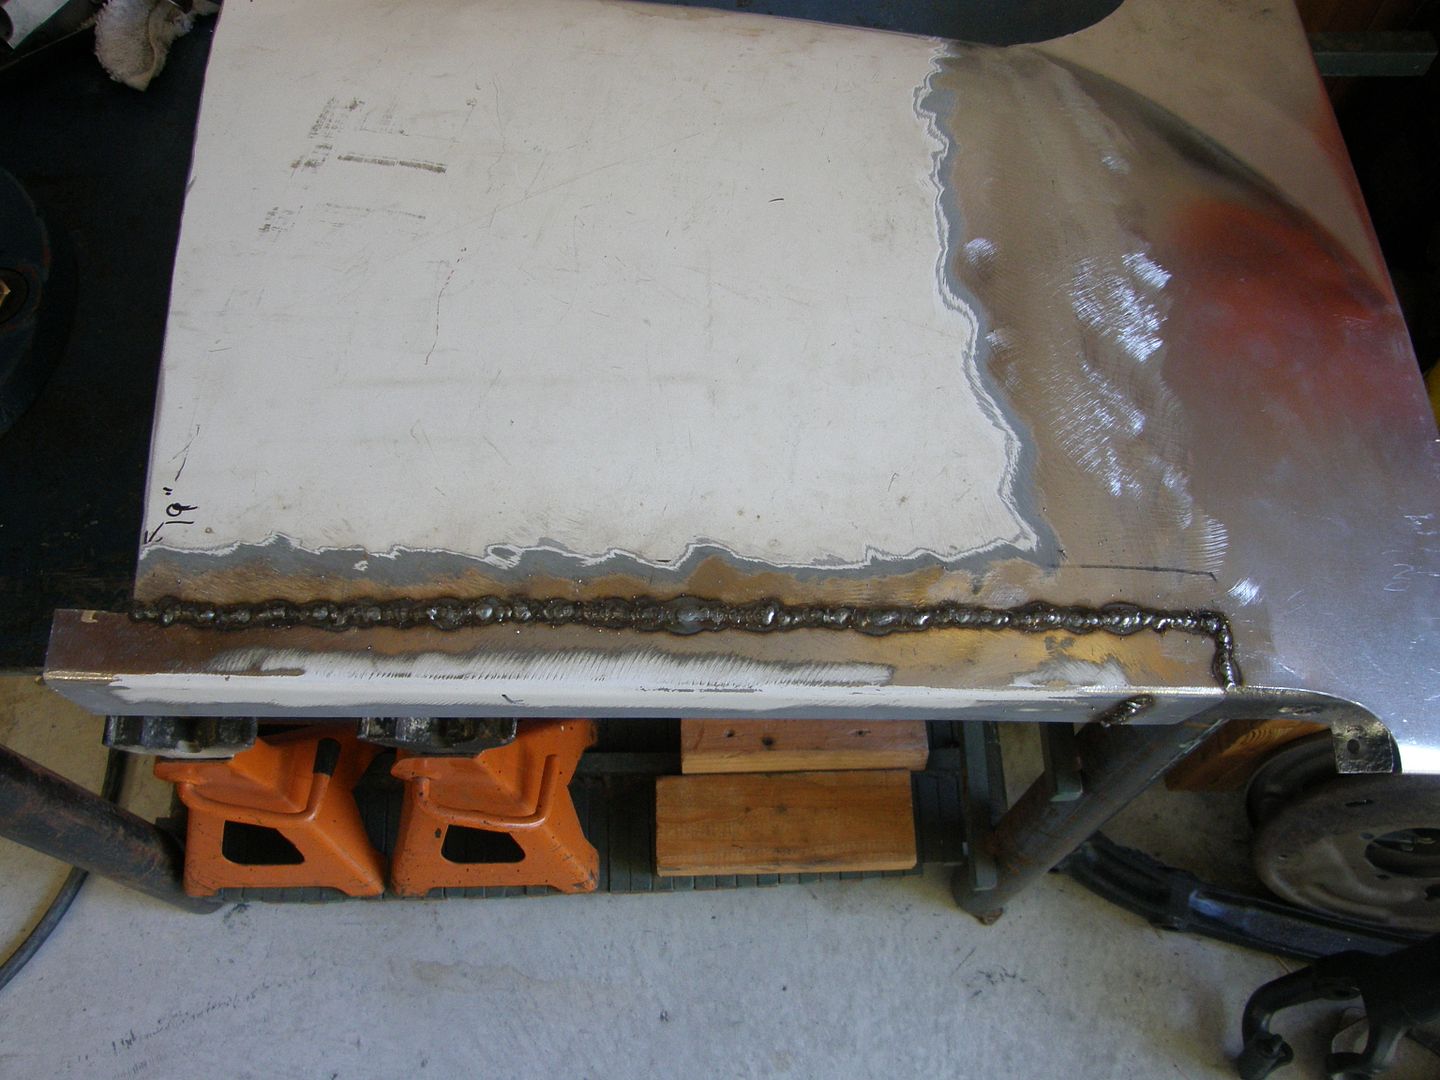
Finished welded the panel and then ground it down. Not bad considering I'm a complete rookie at this!
Here's a cheap tool I made in a about minute and a half for when my gaps are too wide and I need a copper backing. It's simply a piece of 3/4" copper pipe smashed flat with a hammer. You can buy one for a couple of bucks at a welding supply store but I'm just incredibly cheap so I make my own stuff!

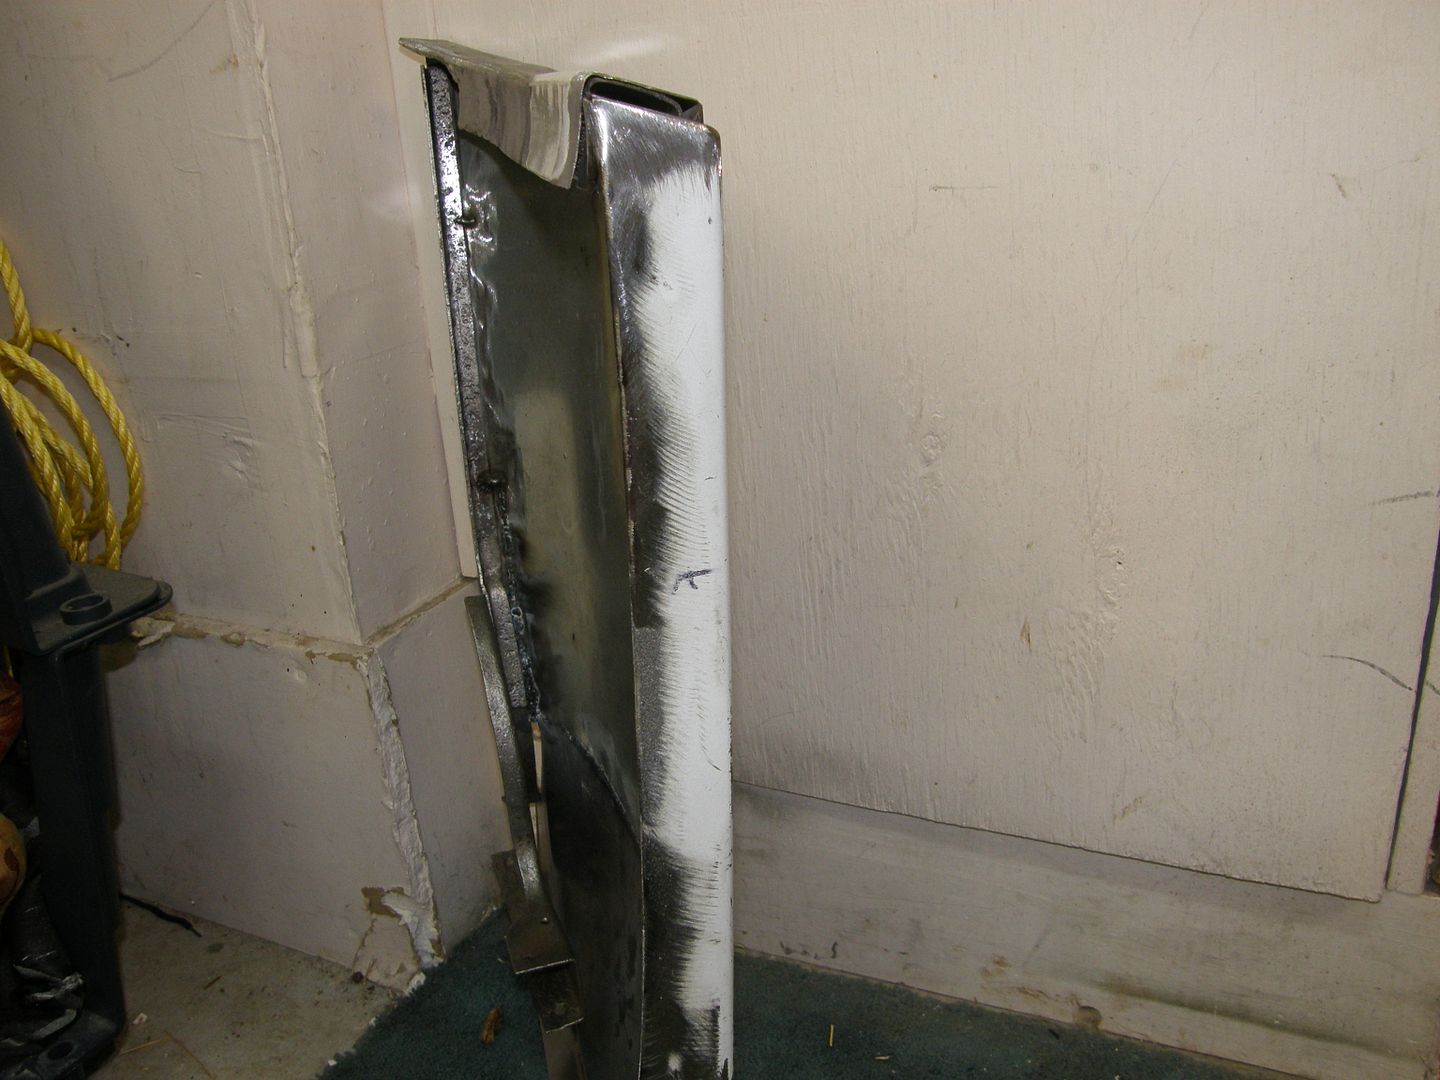
I cut the corner section off an old washing machine I had and used it to solve two problems. First I used it to extend the upper part of the new quarter panel that was short, as referred to earlier, and also used it to create a new door jamb. Please don't laugh at my welds, I'm new to this welding game!
Here's some detail welding............
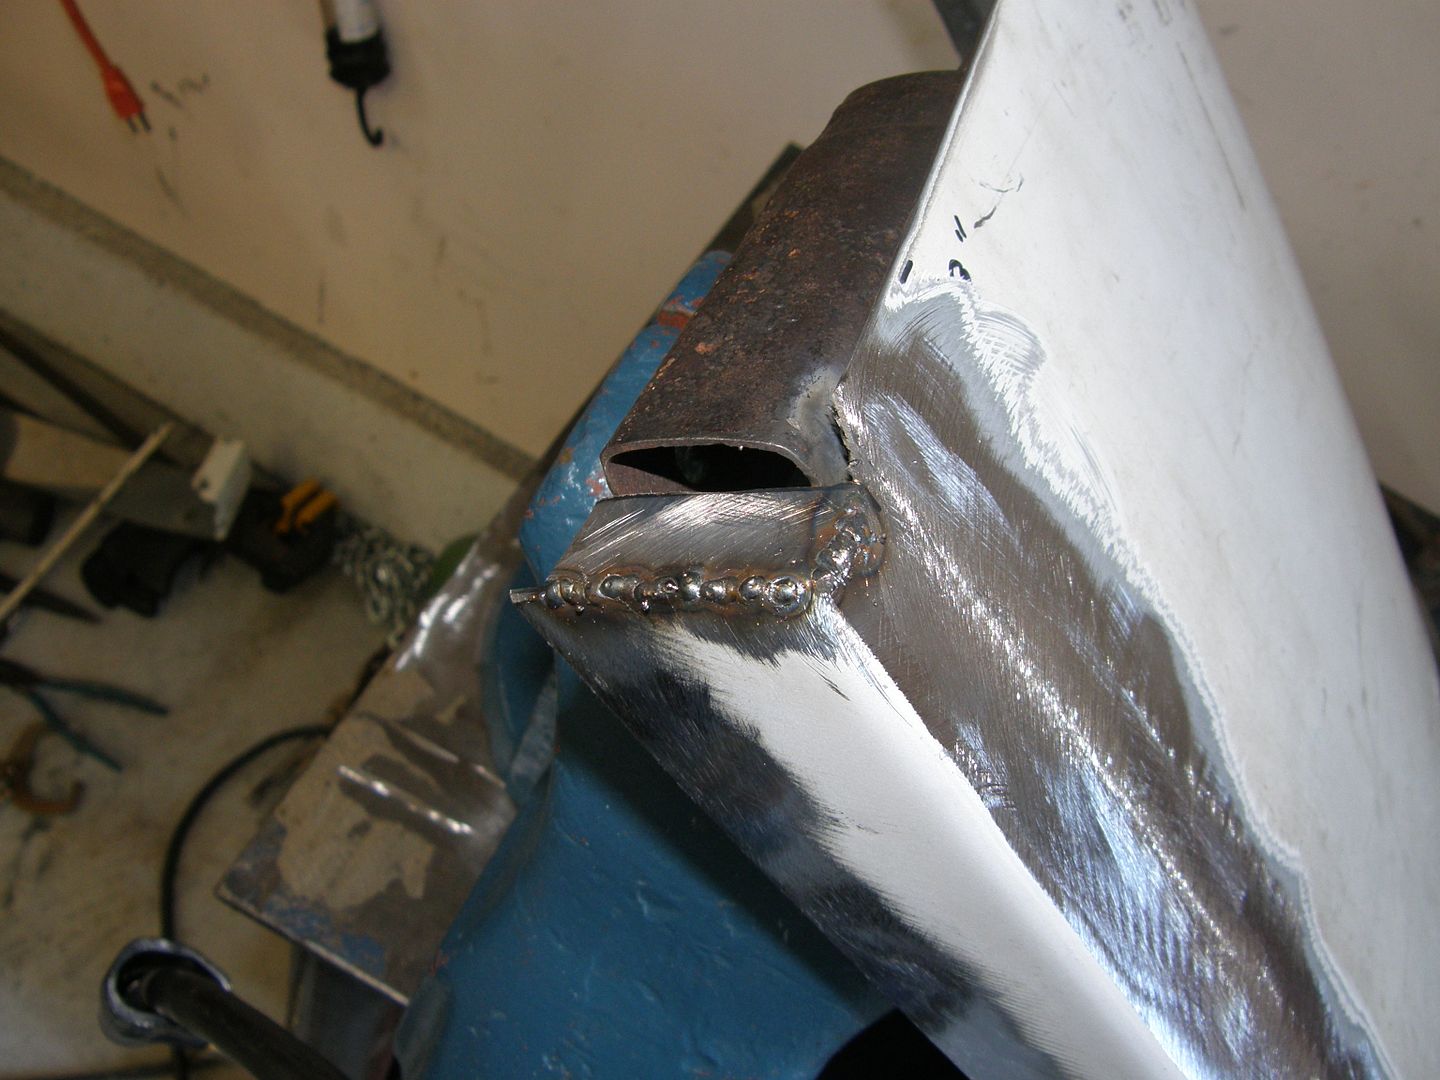
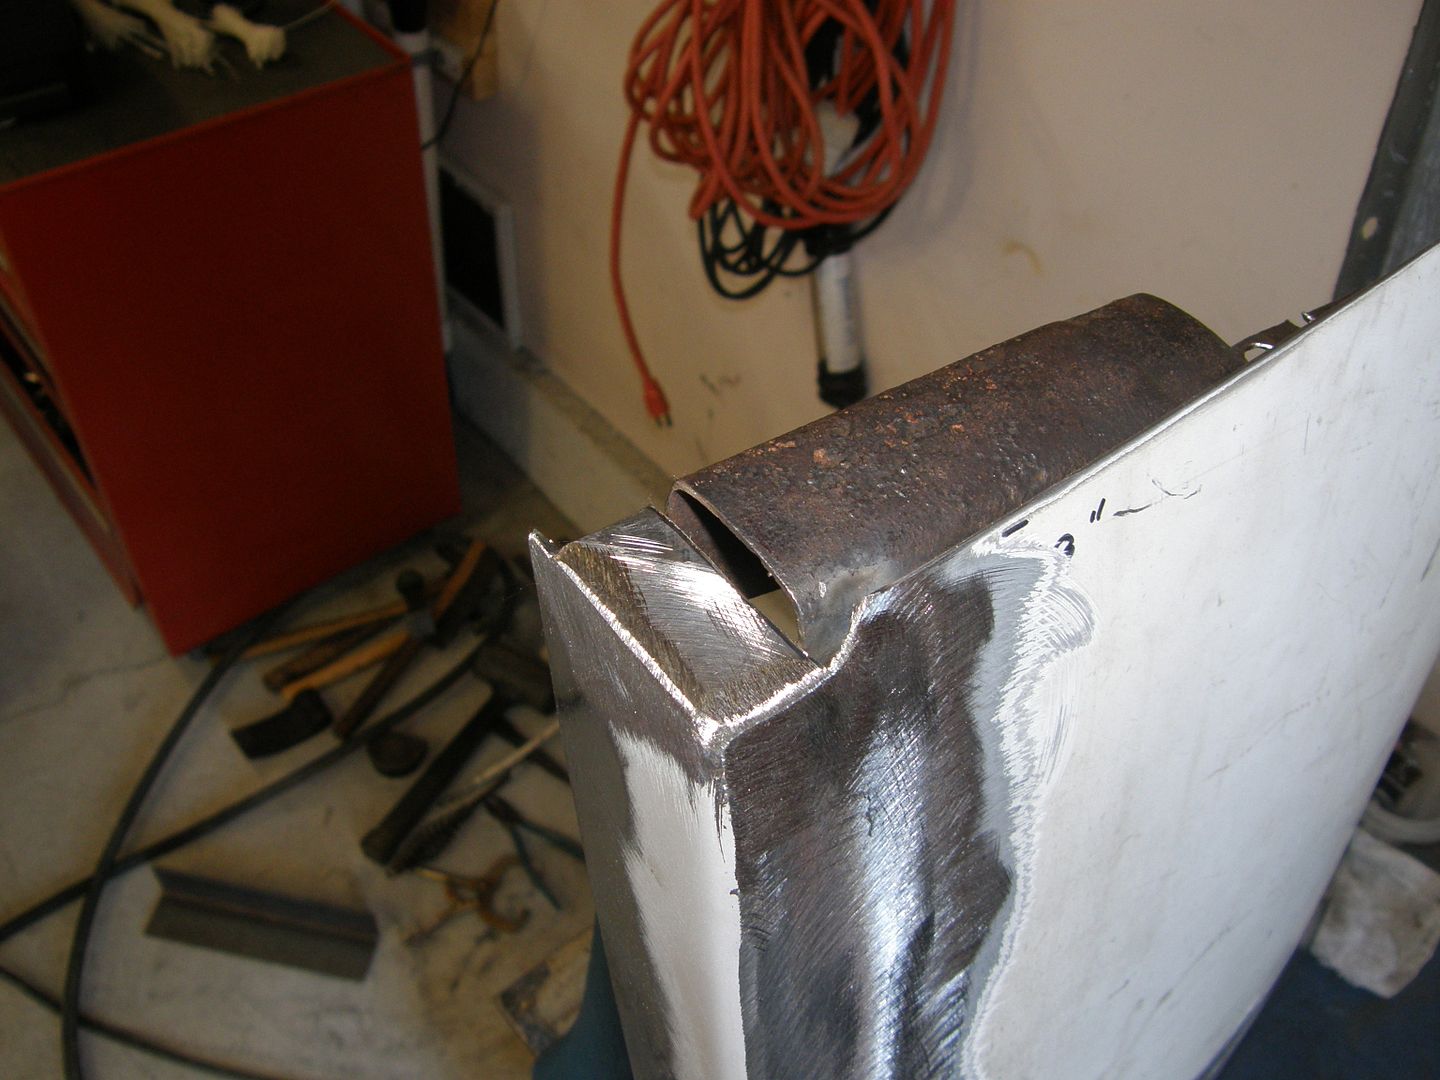
Sliced and welded this rear section so it would suck up against the rear support bracket.